Spring is in the air

Welcome to my monthly update on all things to do with creating homes with classic charm and relaxed appeal

I love August because you always get a sense of spring being just around the corner. But then August plays that trick of a cold snap just to keep you on your toes and realise it is still Winter. I also love August as it is our eldest son’s birthday so it always brings me back to the joy of becoming a mum and our family growing from the two of us to three then four. 

I feel that this spring could be a bit like a new birth, as we have been tucked up under our donnas in lockdown, but hopefully we will get to come out soon and enjoy the warmer weather. We will be able to smell the roses without a mask on and enjoy each other’s company at a picnic in the park. 

So, with spring now just a day away, let’s brighten up the mood with some great spring decorating tips.

Spring HR.jpg

DESIGN IDEAS

1. TABLE DECORATION

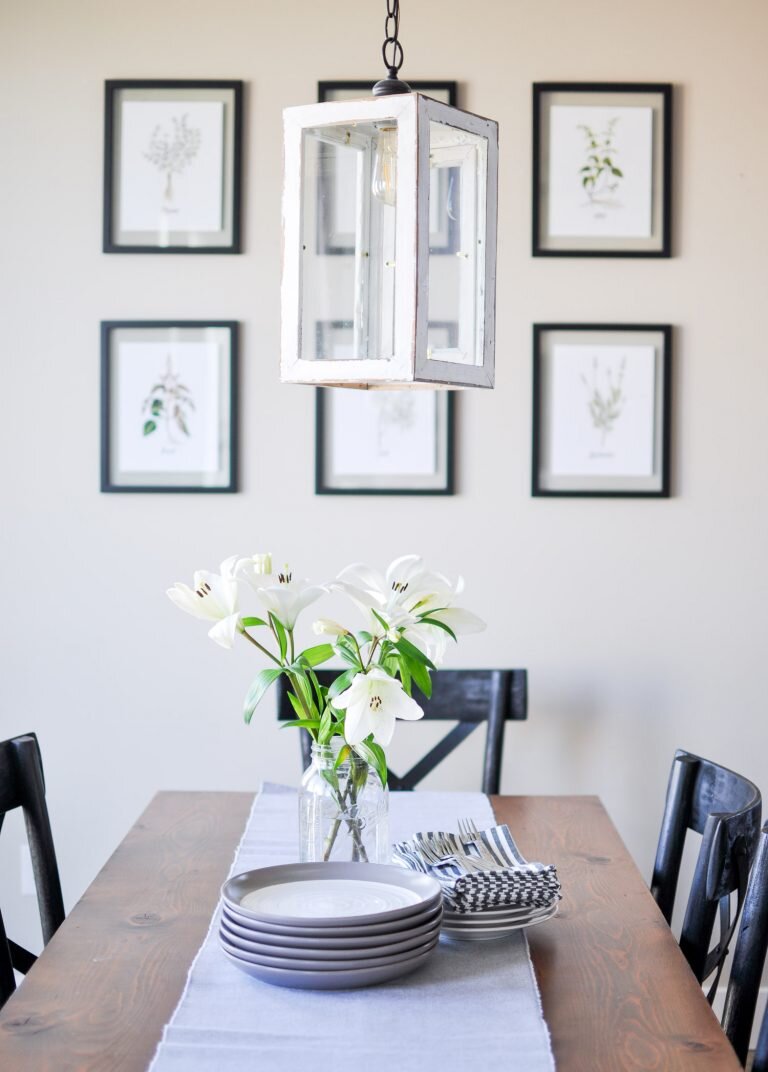
Give your dining table a lift with a light textured table runner and vase of flowers.

Image courtesy of Cherished Bliss

Image courtesy of Cherished Bliss

2. PLAY WITH THE LIGHT

Stock up on mirrors and use them to bounce light around your room. You can display them in groups to make them decorative. This will help you fake the illusion of a brighter space.

3. BRING IN THE GREENERY
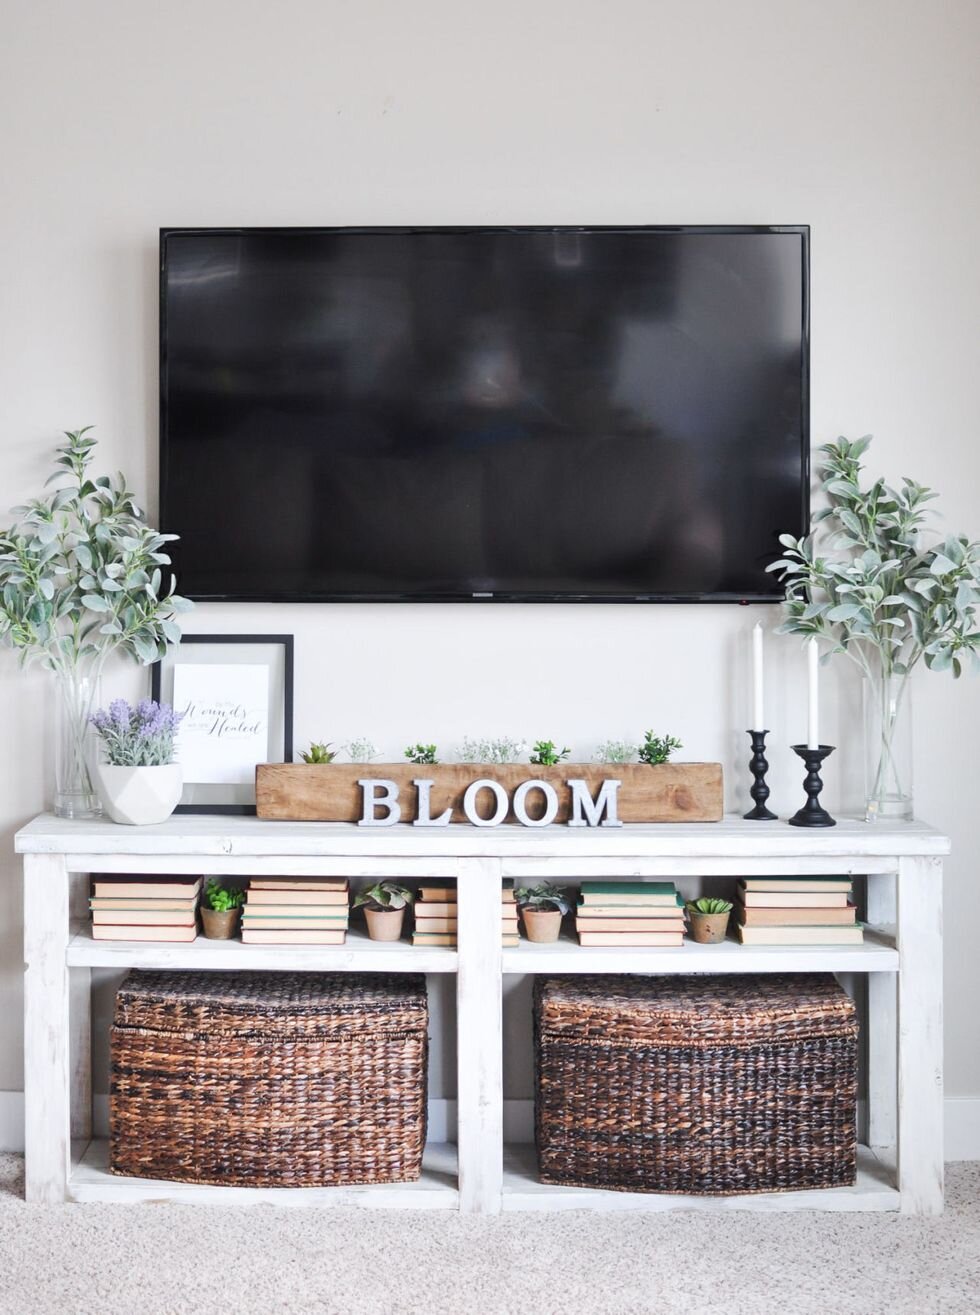
Spring blooms add a lovely touch to the home in a gorgeous vase as does any greenery from the garden. Use an indoor planter with green succulents. Mix these in amongst books or décor items. You can also add greenery through your décor, ie green cushions, vases, even art etc.

Image courtesy of Cherished Bliss

Image courtesy of Cherished Bliss

4. UPDATE YOUR BOOKSHELVES
Remove any clutter, give them a good clean and keep items that work with a spring time palette.

5. BRING SPRING TO THE BEDROOM
Give the bedside table a cull. Get rid of the pile of books from those wintery sessions under the doona. Add a lovely vase with flowers next to your lamp and a candle. Gorgeous!

6. BRIGHTEN UP THE WORKSPACE
With a lot of us now working from home, it is important to keep these spaces light and airy to lift your mood. So have a go at bringing spring to your desk through a few colourful accessories. 


3 THINGS I’VE LOVED RECENTLY

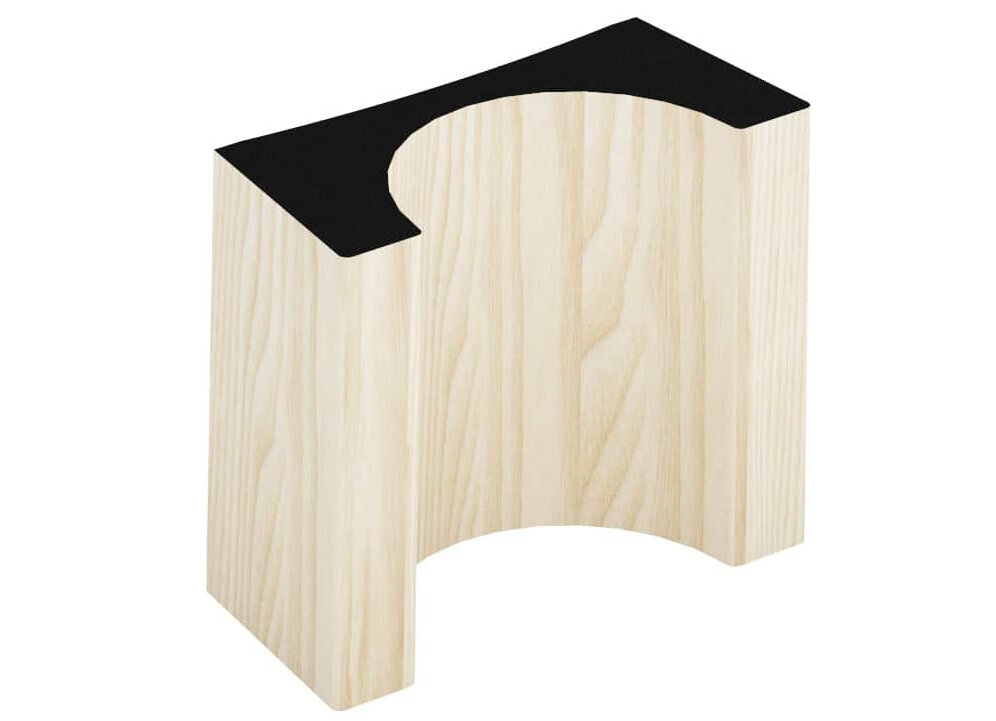
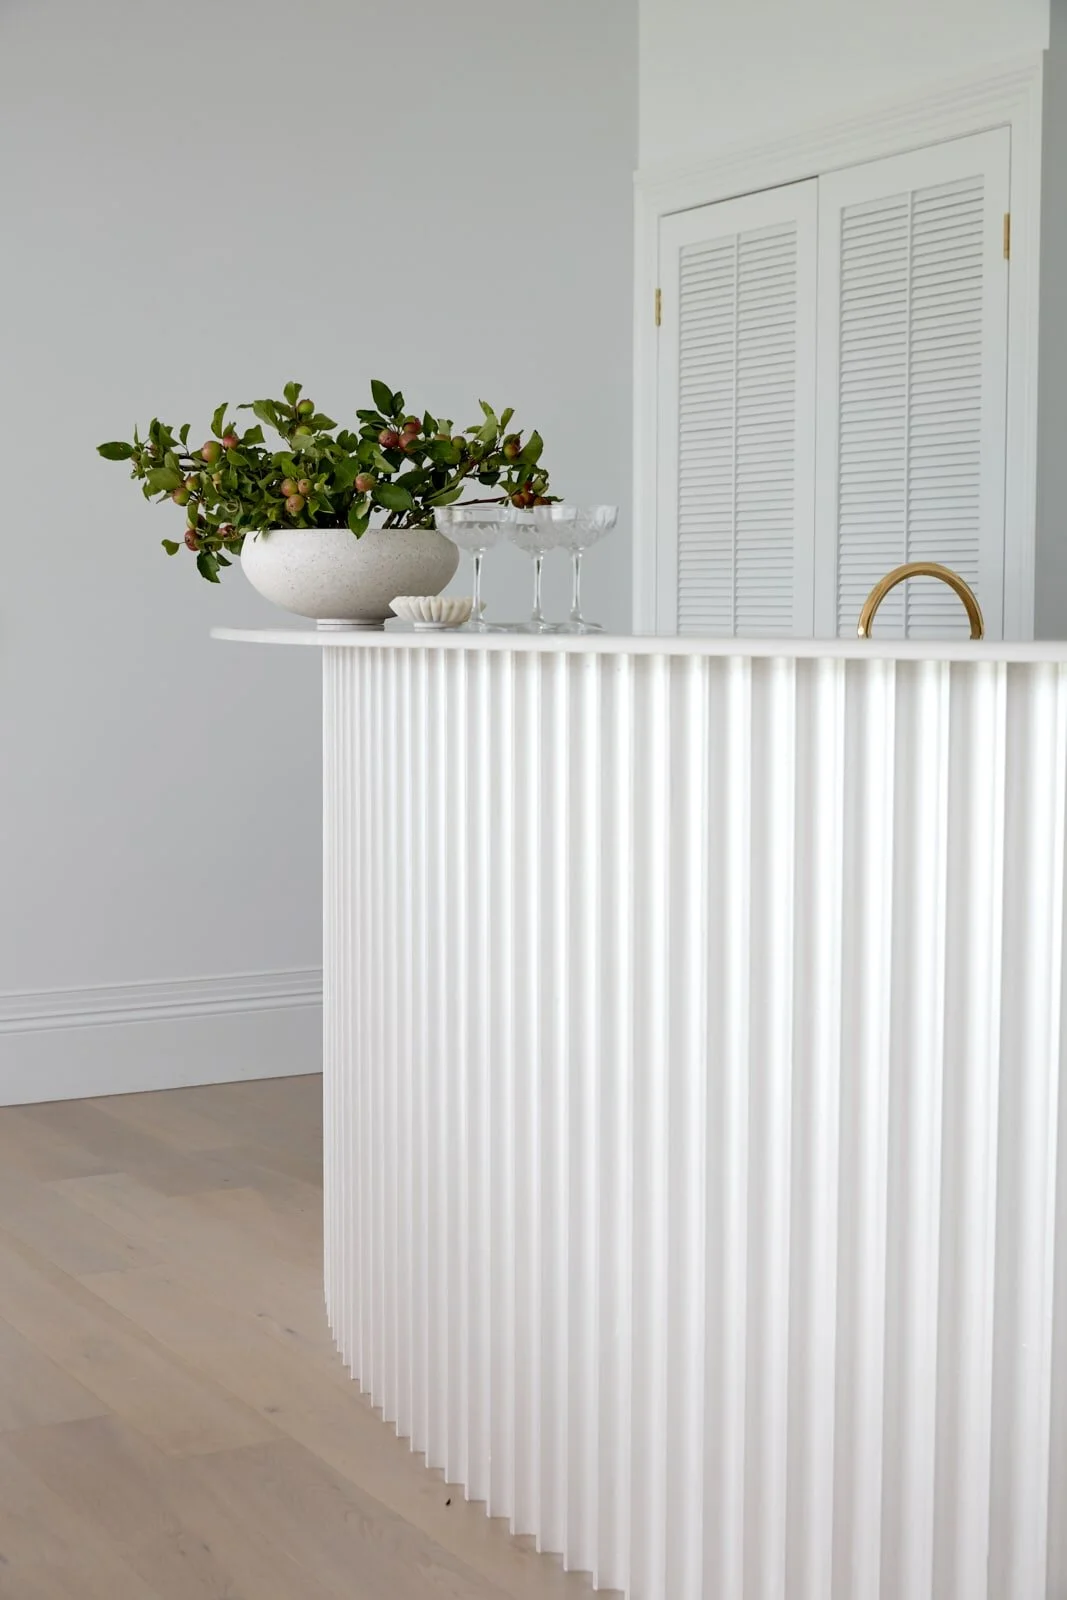
Who doesn’t love a good moulding. This new moulding from Intrim Concave CC60 is so versatile and on trend. It creates lovely texture on walls or cabinetry.

Intrim Concave profile.jpeg
Three Birds Renovations H13 house kitchen/bar

Three Birds Renovations H13 house kitchen/bar

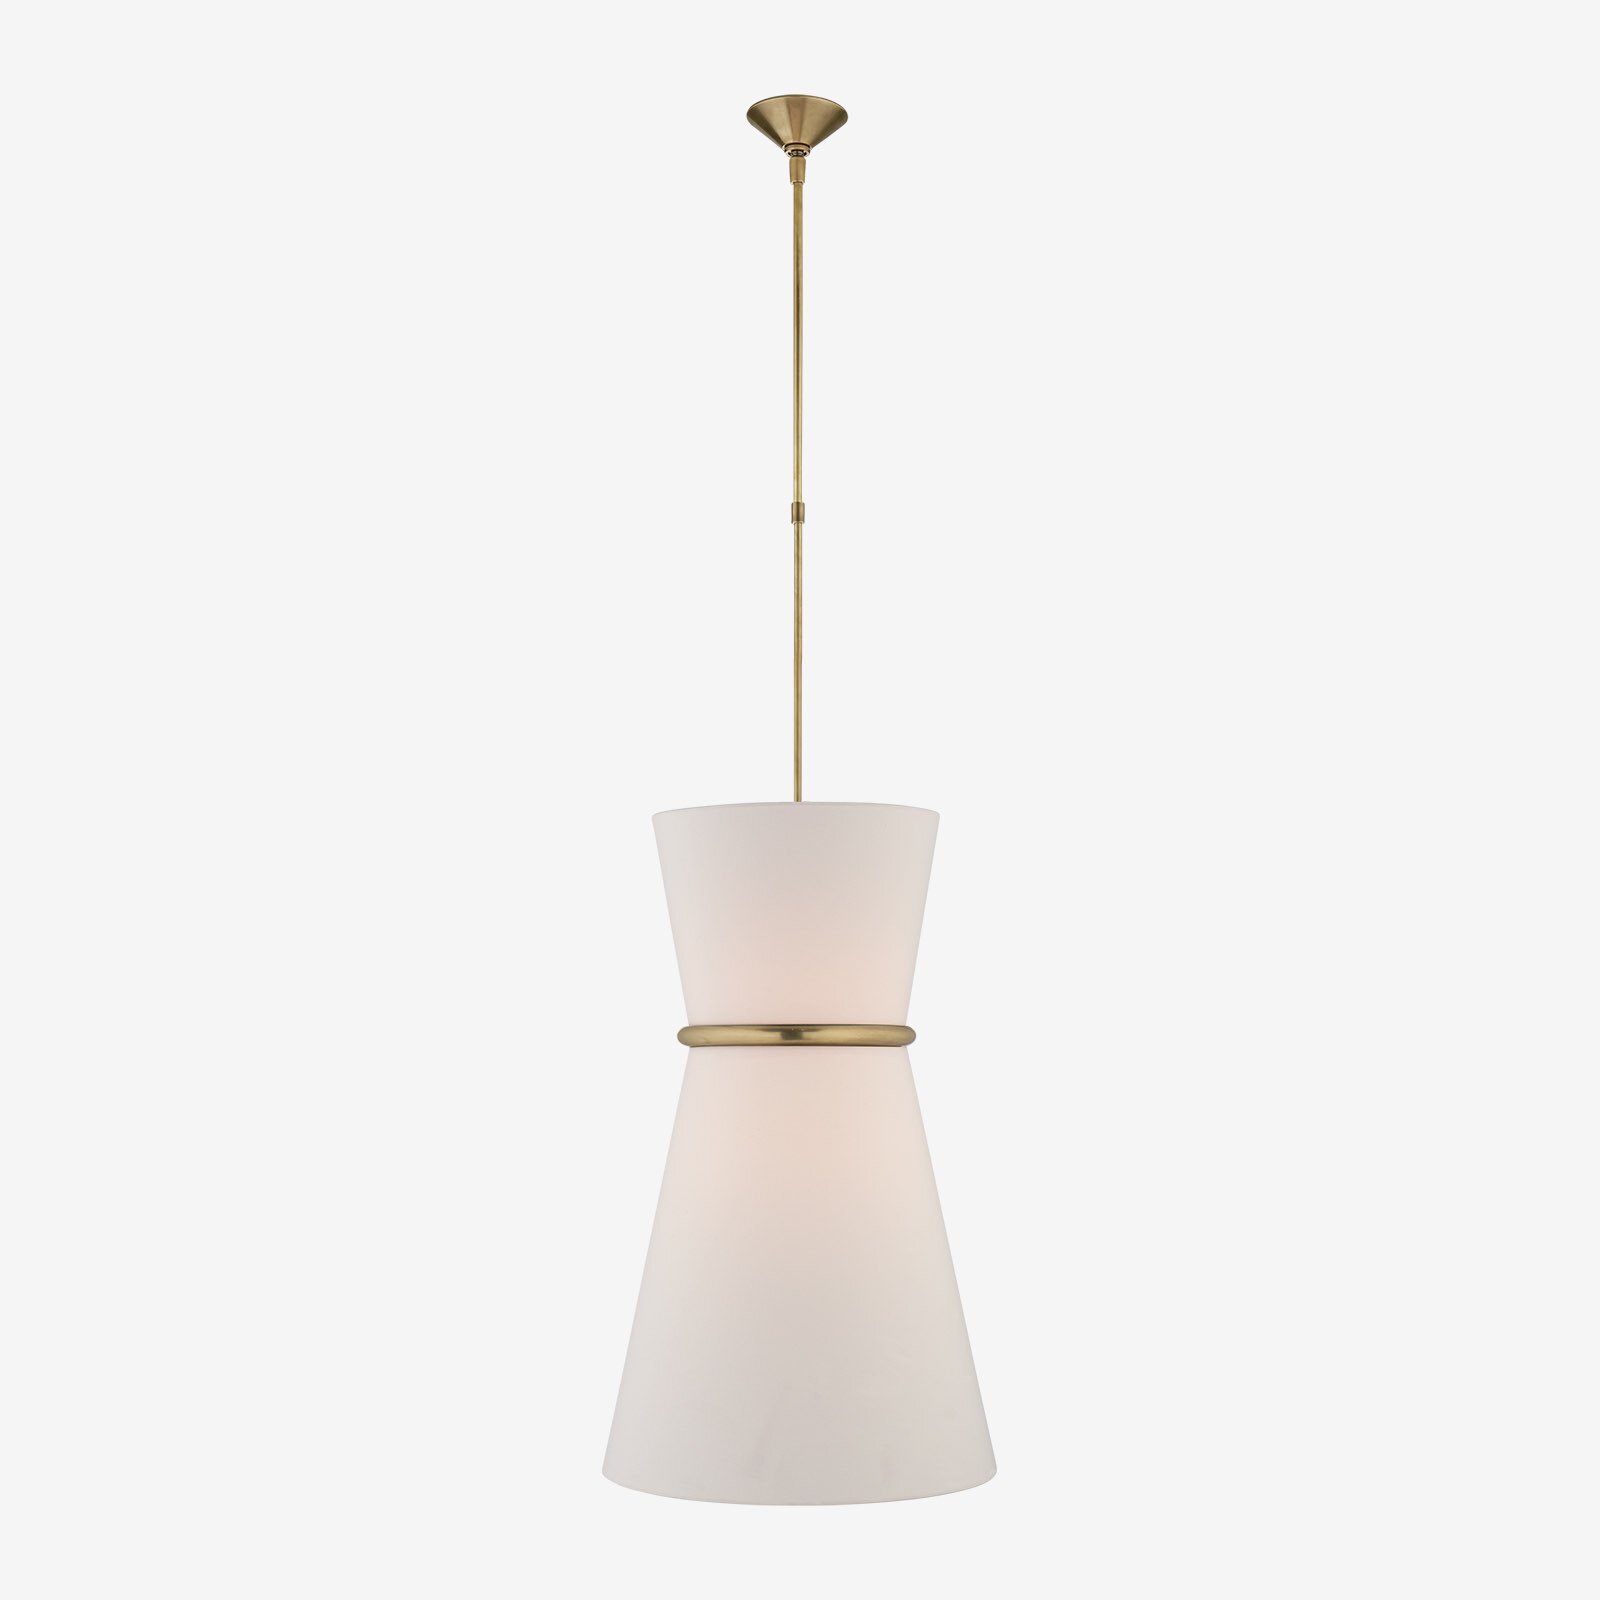
I was flicking through Instagram a few nights ago and came across these lights from Mondoluce. They would certainly encourage you outside on a spring night.

IMG_1217_CROP.jpg

Talking about adding green to your rooms to lift your spirit and welcome in spring, isn’t this green just gorgeous. It has just gone up on the wall of my client’s daughter’s room – it is called Dulux Camouflage Green. I think it is such a lovely pop of colour!

Green wall.jpg

PROJECT UPDATE

For those who have been following along with our new home build, here is the latest update. The frame is up and it is always a good idea at this stage to mention to your builder any fixtures or fittings that may need extra support. We are adding some feature pendants so they can put in extra timber to support these larger pendants. 

I do hope this month’s blog post inspires you to add in a little spring cheer to your home. Until next month, bye for now. 

Take care

Jules xx

Project planning

Welcome to my monthly update on all things to do with creating homes with classic charm and relaxed appeal

Well here we are in lockdown, with the Olympics on, home schooling and all three boys in my life wanting to know constantly what there is to eat!!!

We are, however, very lucky as this last 12 months have given people time to reassess the value of their home and as such a boom in home renovation has happened. I have been fortunate enough to help some wonderful clients through their renovation journey in what otherwise could have been a stressful time. So here are some tips that helped us get through the last year and may help you if you are considering a home renovation during Covid.

Drawing on plans_800 x 1200.jpg

DESIGN IDEAS

1. PLANNING

Give yourself a little extra time to source fixtures and fittings as there are quite a few items with longer lead times now. Design and sourcing usually take 3 months but I know some items are taking 6 months. Crazy isn’t it!

2. PATIENCE

Patience is also certainly something we have all had to have over the last 12 months of building. We have managed to get jobs done but the install may have taken longer due to trade or material availability. All the trades are very busy at the moment so patience is a big learning.

3. FLEXIBILITY

I also found that we have had to be flexible with the design solutions presented. One moment a tile may be available then the next it may be out of stock. I will always try to have a design that allows flexibility in this situation so we can choose another option to keep a project moving along. Or consider purchasing when you find a material you love and storing if you have the room.


3 THINGS I’VE LOVED RECENTLY

I’m in the process of finishing off the selections for our new build and am looking for kitchen lights for over the bench. I’m torn between these three beautiful lights from Montauk Lights in WA. What do you think? I need to place an order soon as these can take 6 months to come in from America.

Clarkson Single Pendant

Clarkson Single Pendant

Alborg Large Stacked Pendant

Alborg Large Stacked Pendant

Hicks Pendant

Hicks Pendant


PROJECT UPDATE

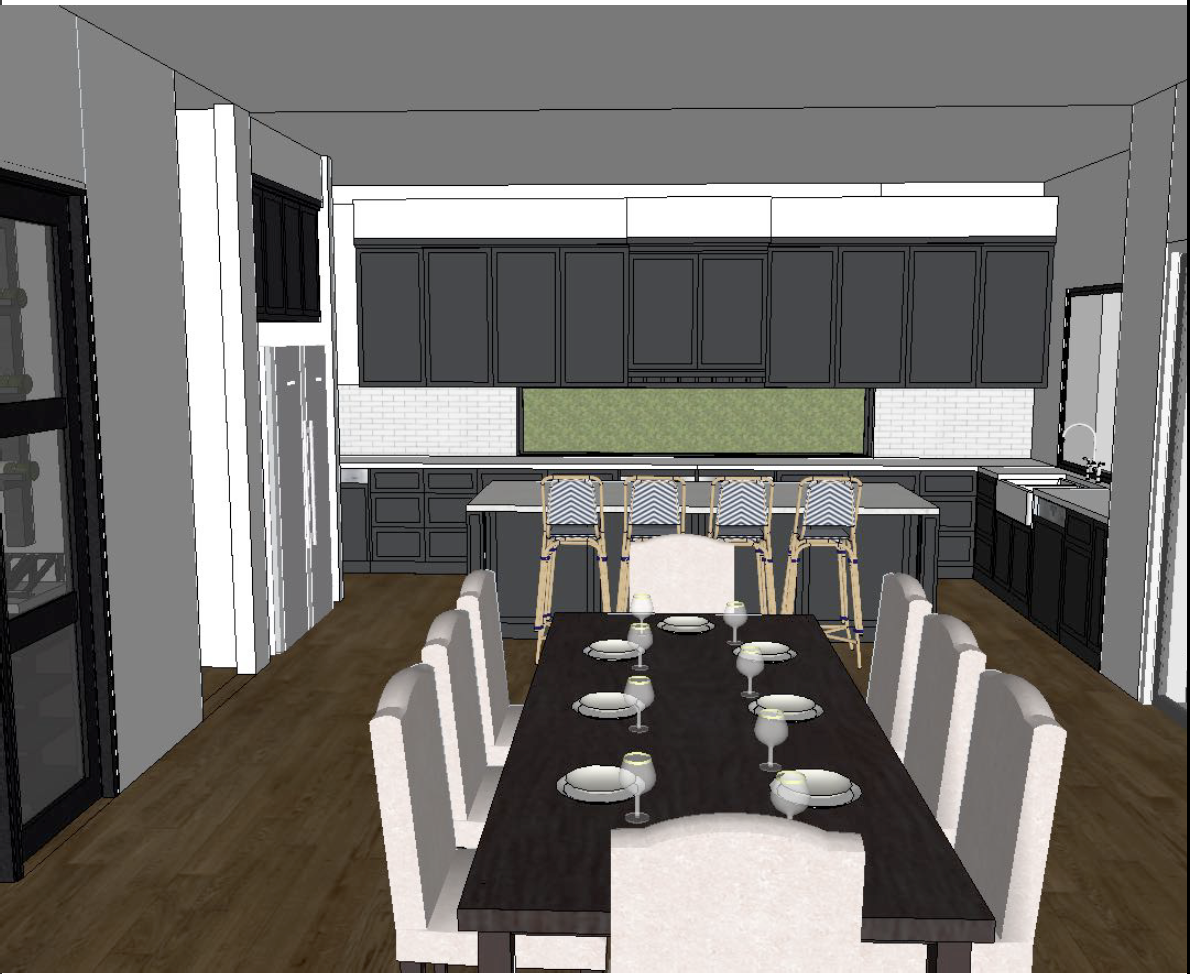
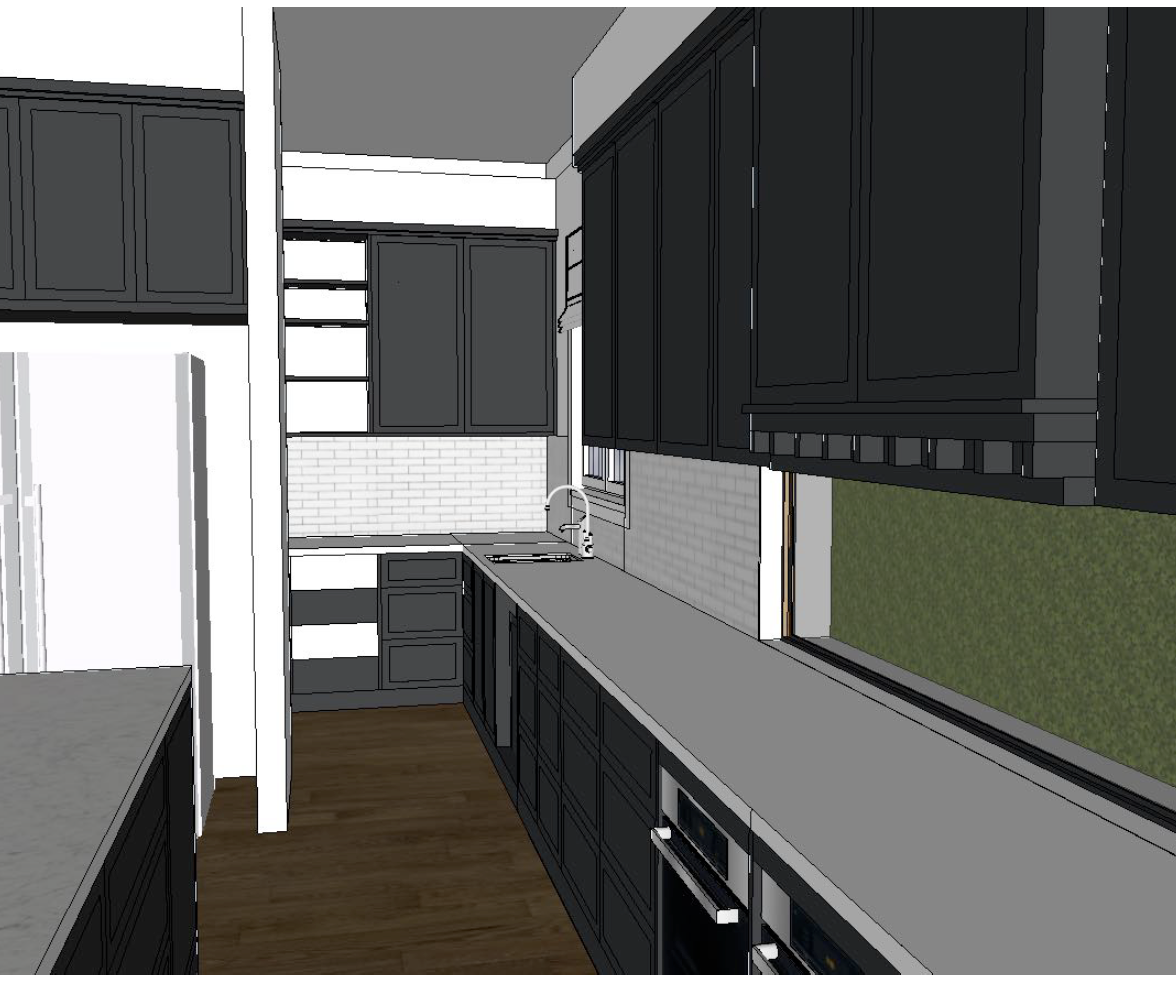
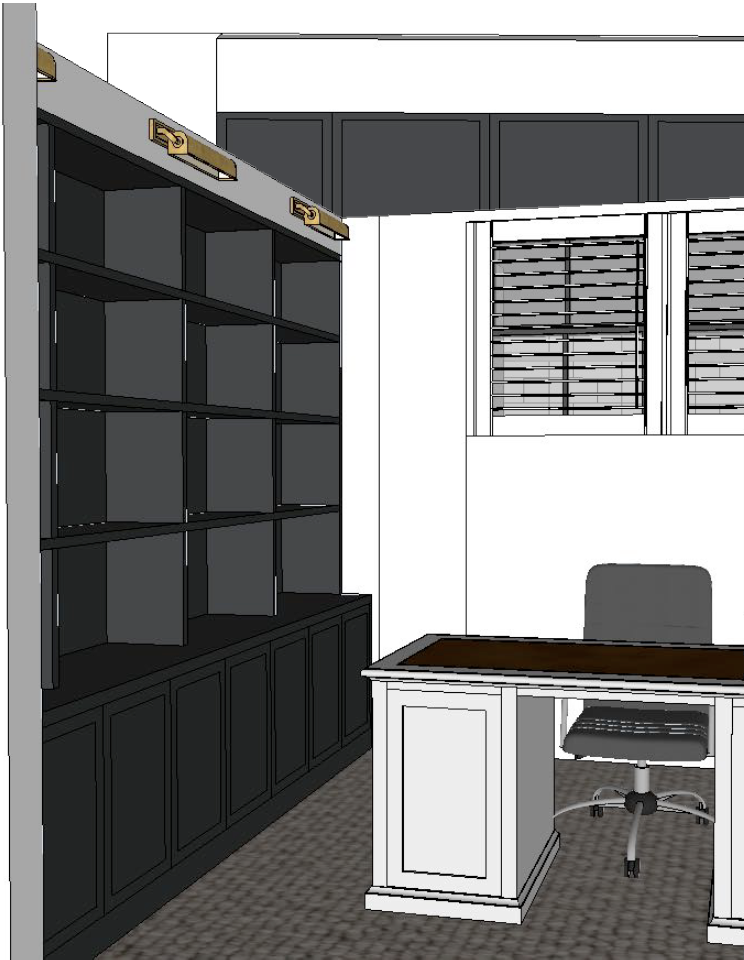
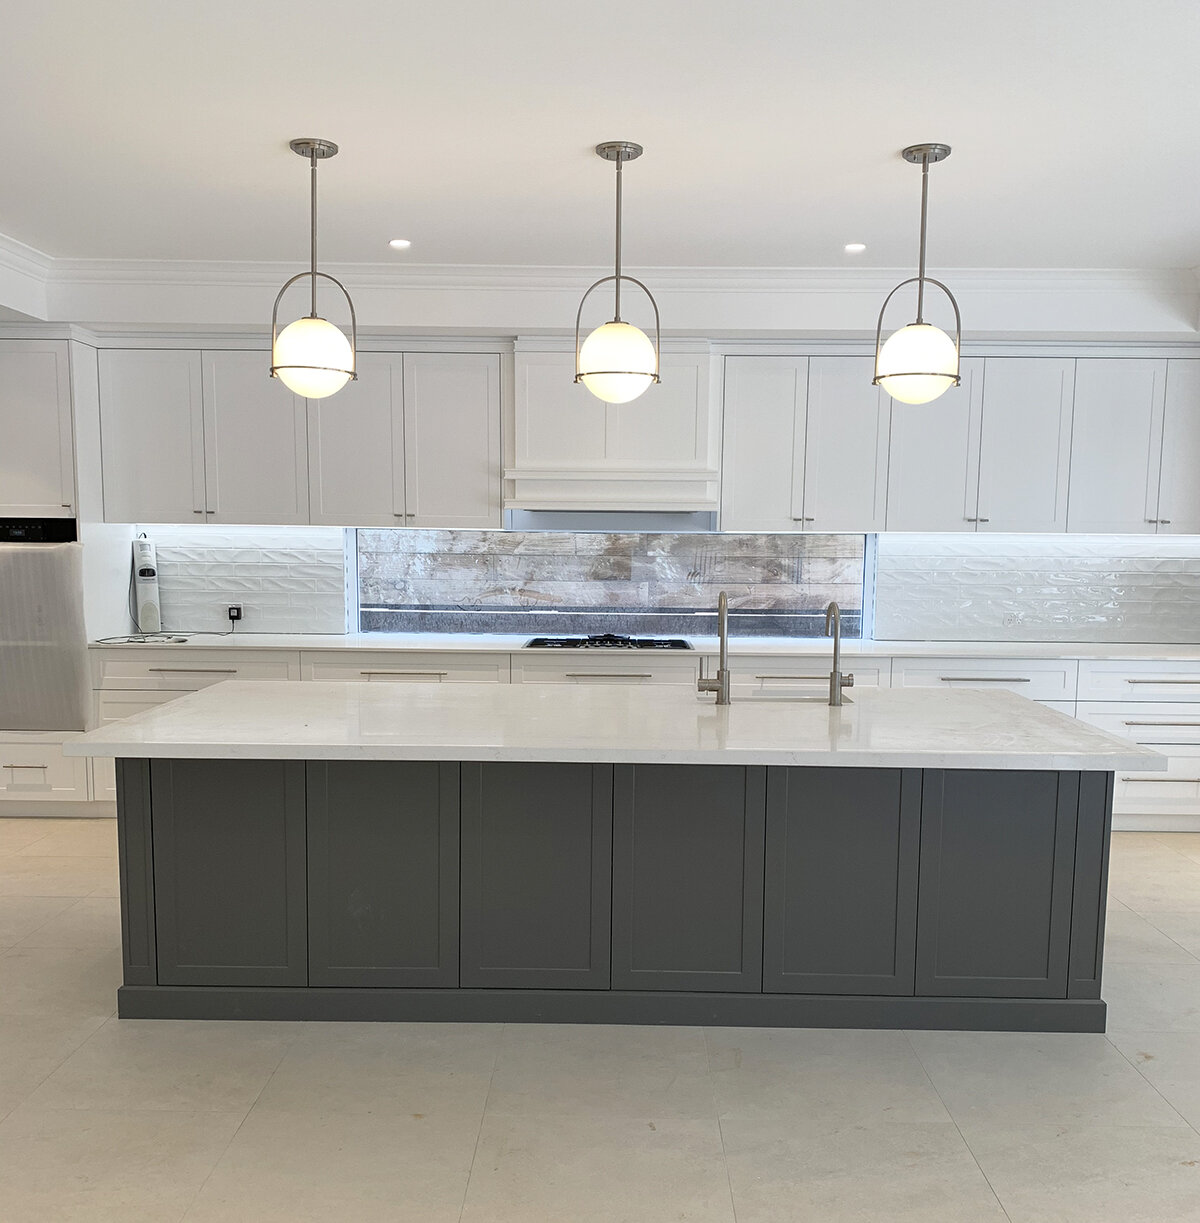
Here are a few sneak pics from the design concept phase I have been doing on our own build. The kitchen image below, shows where I need to hang the pendants that I mentioned above. 

This month has been a little focused on home as I haven’t been able to get out to sites or suppliers. I do hope today’s blog inspires you to start planning your project no matter how big or small. Until next month, bye for now. 

Take care

Jules xx

Winter Warmth

Welcome to my monthly update on all things to do with creating homes with classic charm and relaxed appeal

This month, I have been busily finishing off two new homes for clients to move into last week, juggling end of financial year and kids at home for school holidays during lockdown in Sydney. They just seem to be always asking for food!

 As we are in the middle of winter and I am in the middle of finalising selections for our new build, I am going to be talking about how you can add warmth to your home not just through the heater or the fire place being on, but through colour of fixtures and fittings, colour of paint on the walls and through colour in décor.

Winter Warmth Opener.jpg

DESIGN IDEAS

If you have been following me lately you will know that my husband and I are building a new place and I am just finishing off the selections. Dame and I are creating a home that is based around a modern take on a traditional ‘Arts and Crafts’ home. It is going to have a striking palette of black and white but needs warming up with touches of bronze. This idea of warming a place up through fixtures, fittings and décor is what I want to share with you today.

1. WARMTH THROUGH FIXTURES & FITTINGS

Firstly, what do I mean by fixtures and fittings – things like tiles, tap ware and handles.

Our tiles in the kitchen and bathrooms are going to be black and white so the rooms could come across as quite cold so how do I add warmth to these rooms? Well you can do this with your tap ware, handles and rails.

Dame and I were at Astra Walker last week and we chose their lovely Old English range of tapware. We have used this in the past in chrome but look below and see what a difference the finish of the tap ware can bring to the feeling of warmth. 

Chrome v’s Tuscan Bronze – It’s only subtle but I do believe that the aged bronze here feels warmer than the chrome. 

Chrome v’s Tuscan Bronze – It’s only subtle but I do believe that the aged bronze here feels warmer than the chrome. 

2. WARMTH THROUGH WALL COLOURS

Warm colours on the wall can also give you a wonderful sense of warmth. I do love the greys of Dulux Grey Pebble, Heifer and Calf skin for creating warmth as they have an undertone of yellow. This gives these grey tonnes warm qualities.  But I hear you ask what if I want a white home, how can I make it feel warm. I know my husband thinks white is white when you are painting but alas no. He couldn’t understand that I need a day to decide on which white to use on our new place. There is a whole page dedicated to white in the Dulux atlas and that is just one brand. Then these whites are divided into “warm whites and “cool whites”. Depending on what else is going on in the room, how you want to feel in the room and the light aspect of the room, these things will drive what white you wish to paint.

Dulux have a great explanation of how warm and cool whites can work in different situations. Follow the link below to read further about this.

dulux.com.au/colour/whites-and-neutrals/popular-whites

3. WARMTH THROUGH DÉCOR

Well I discussed changing your cushions and throws when we were looking at spring and yes things like cushions and soft furnishings can add warmth to a room. Check out these great Etro Velvet cushions by L&M Home. The colours are certainly warming and who doesn’t enjoy snuggling up to velvet in winter. L&M Home also have some beautiful Cashmere Mix Throws to cuddle up with whilst sipping your hot chocolate. This one below in Eucalyptus Gum is just beautiful.

Cushion & Throw.jpg

You can also add warmth through warm coloured vases in a matt finish like these wonderful Mona vases in Umber also by L&M Home. Add some warm foliage and bingo!

Mona Umber_Bright.jpg

So, if you’re feeling a little cold this winter and have time on your hands for a little project, look around your home for ways in which you can add a little warmth to your life without turning on the heater.


3 THINGS I’VE LOVED RECENTLY

I’ve given away a few of them above but let me share the colour ways that the Mona vases come in from L&M Home. They are made of Iron with a matt finish and come in a stunning range of shapes and sizes, just gorgeous.

Vases.jpg

I’ve been talking about how to add warmth to a room through décor well this new lamp from Canvass & Sasoon is certainly a good example of this. I love the ticking stripe on such a textural shaped base. https://store.canvasandsasson.com.au/lamps/ticking-lamp

_ticking_lamp_h1_updated.jpg

If you love reading about interiors the following website has a great range of articles. https://theinteriorsaddict.com/


PROJECT UPDATE

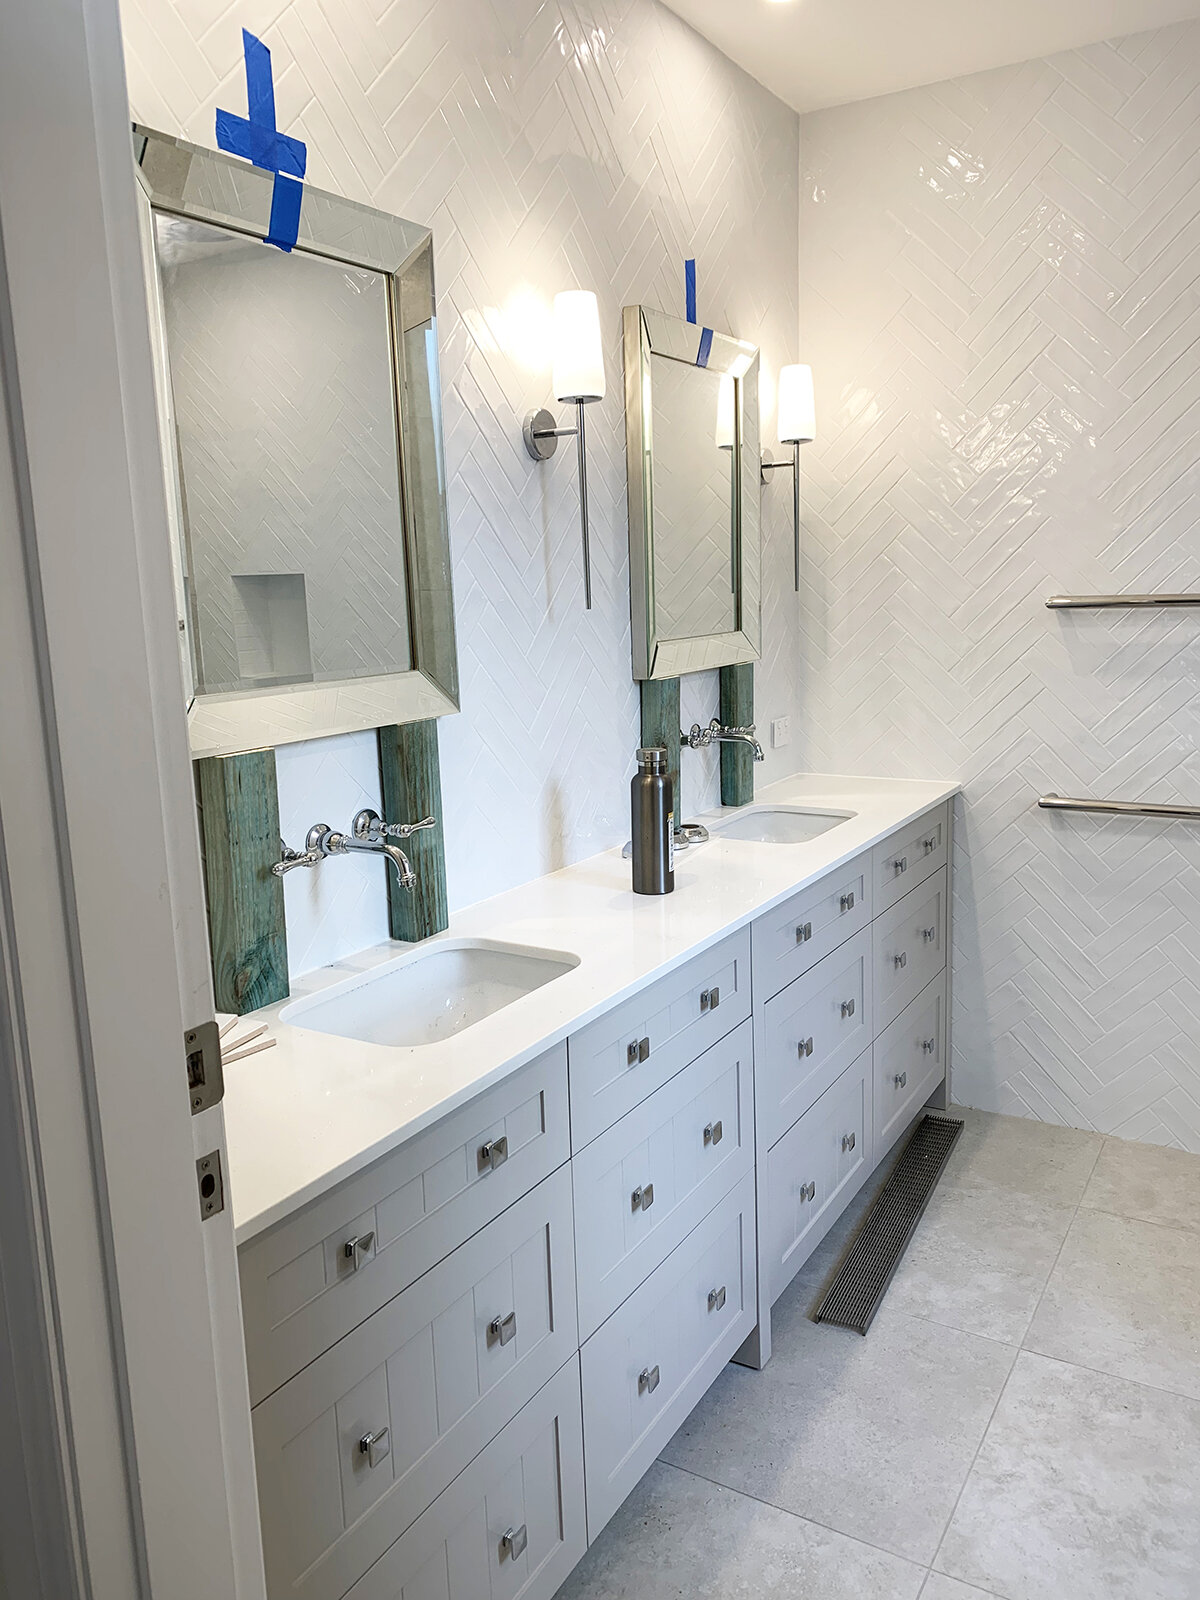
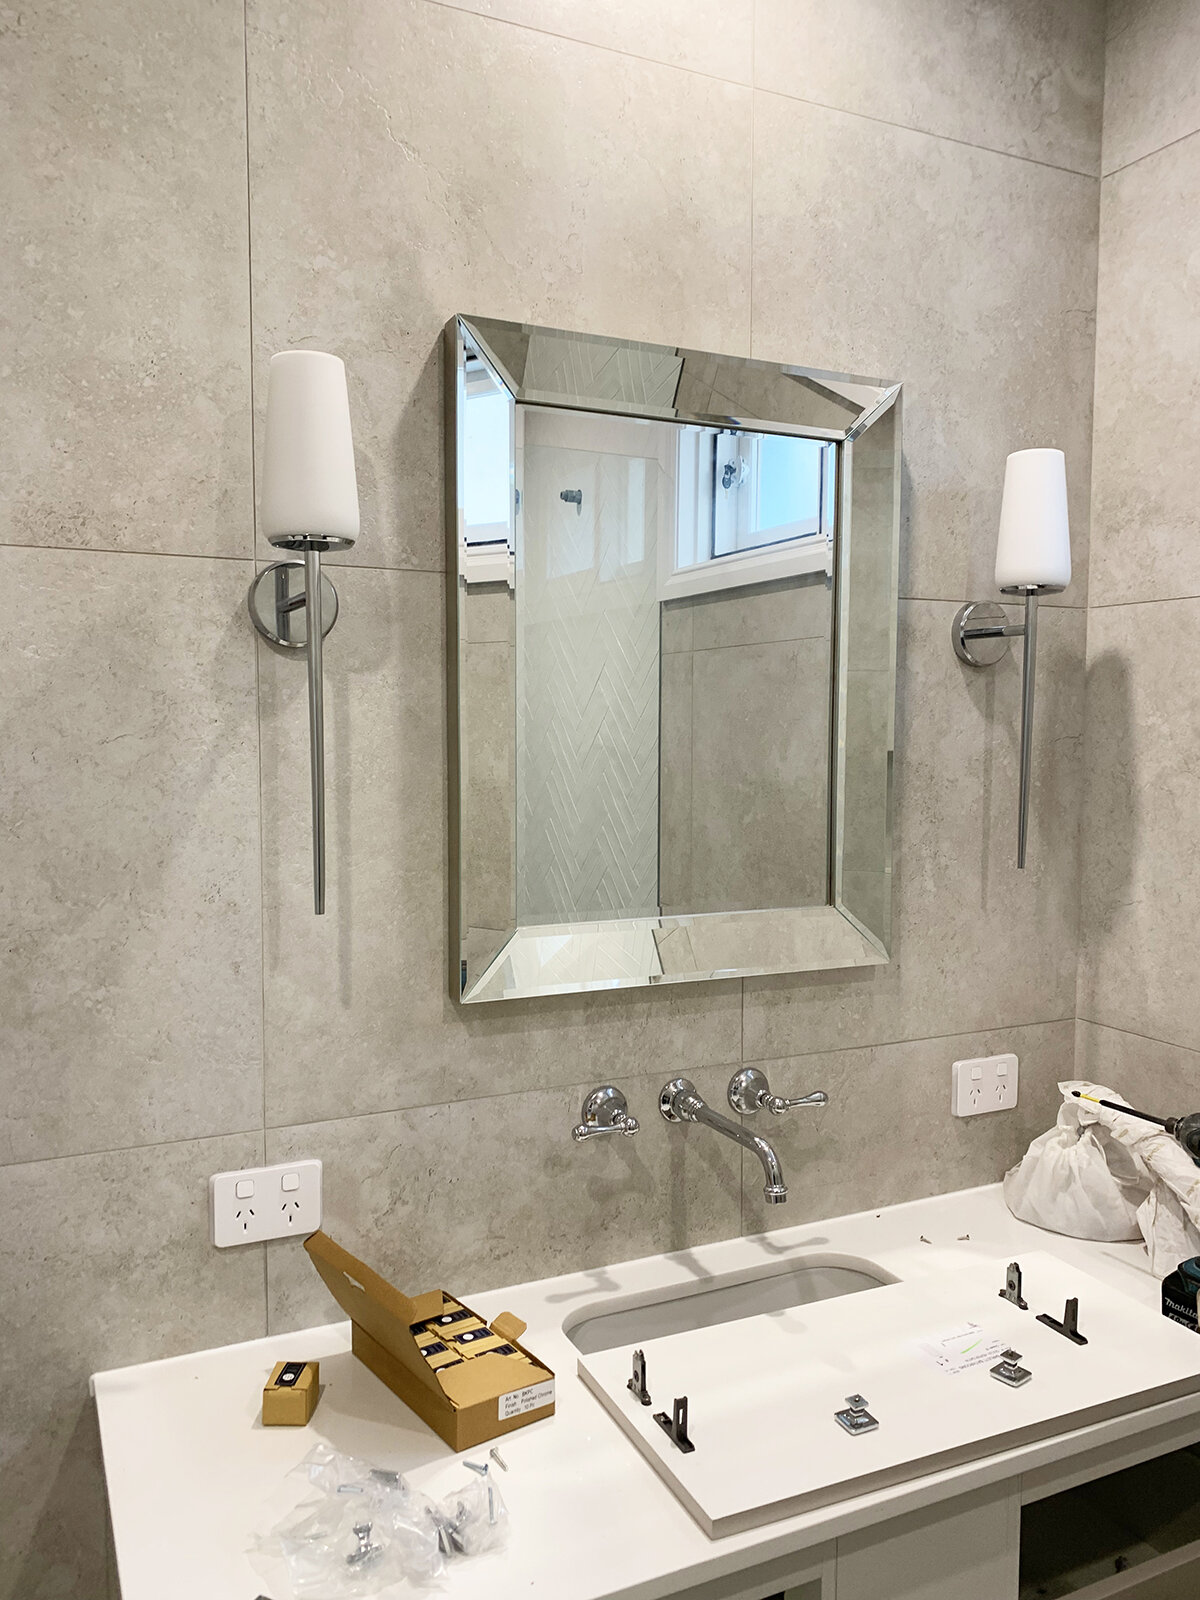
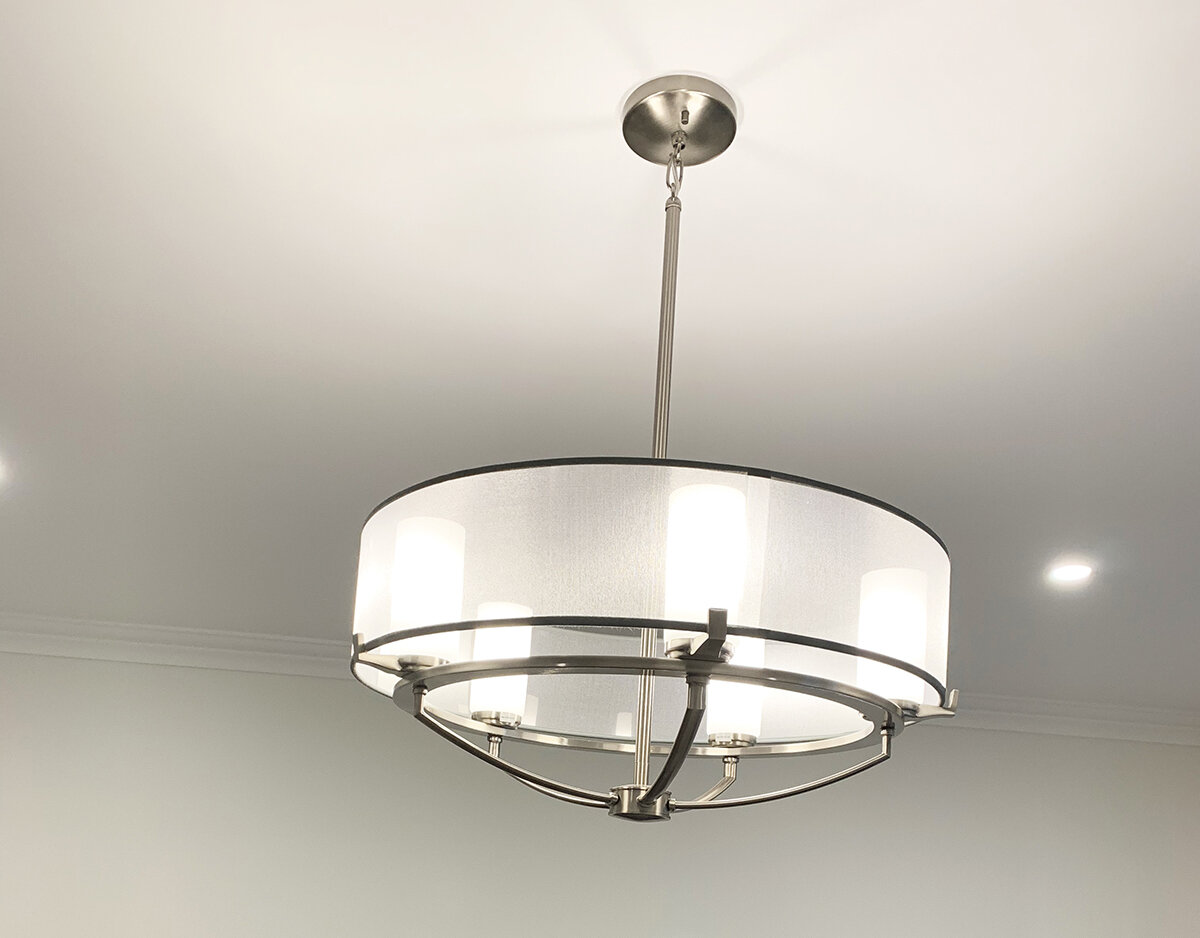
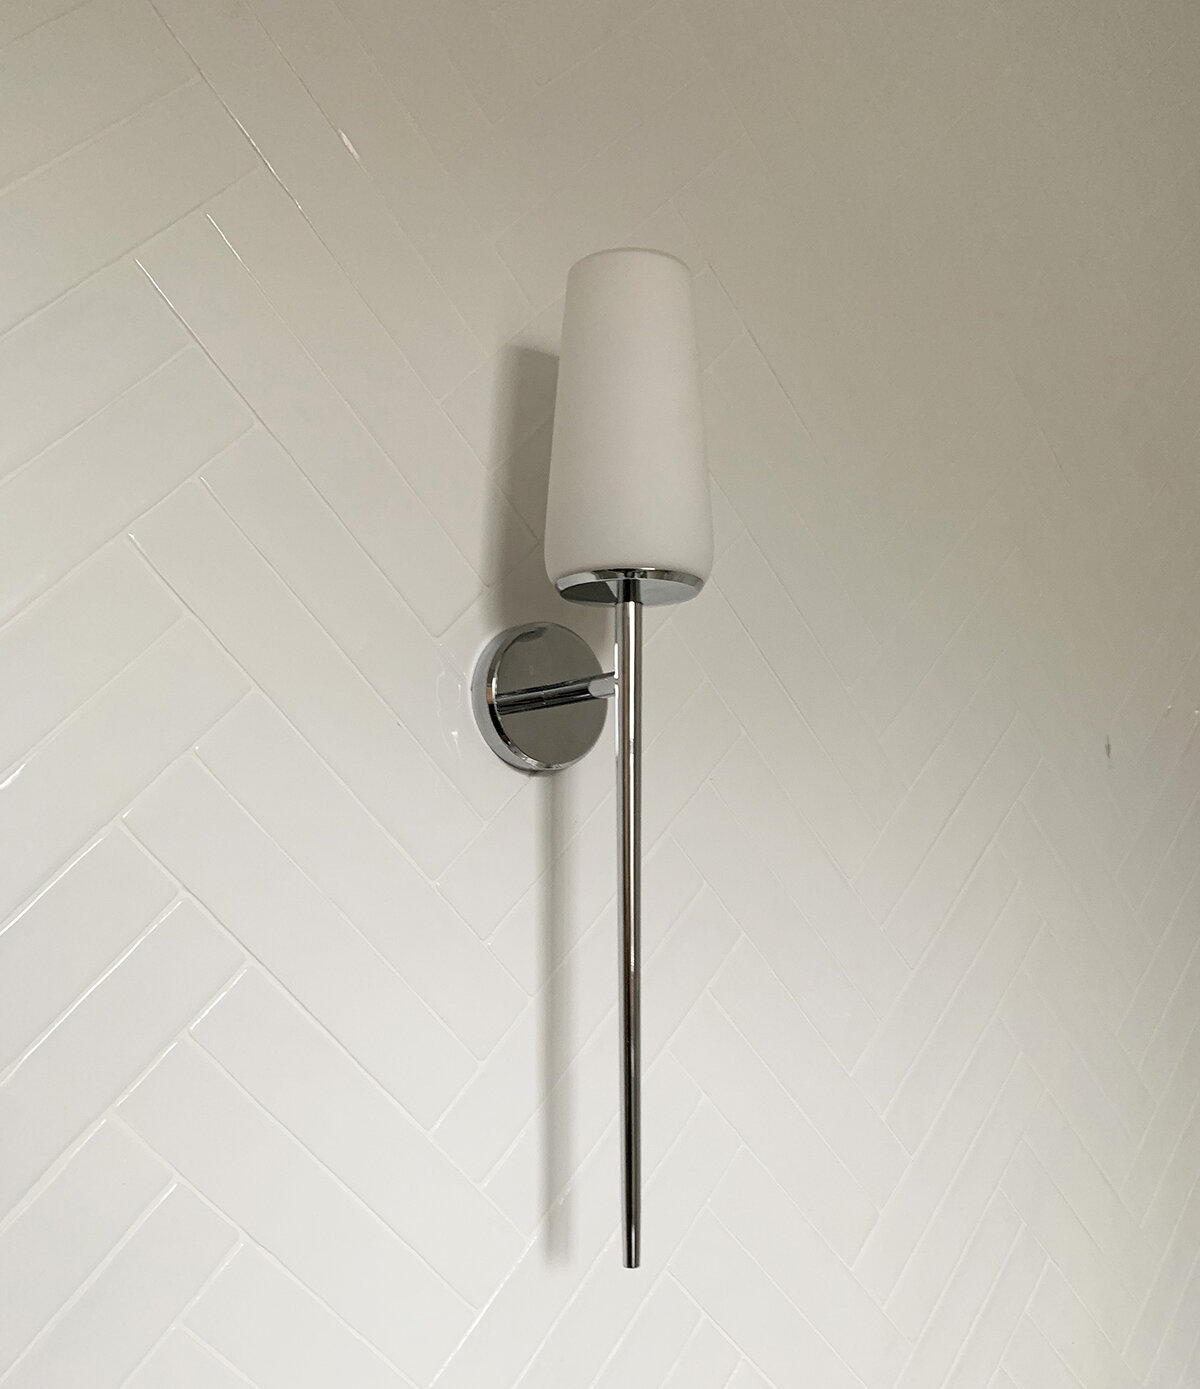
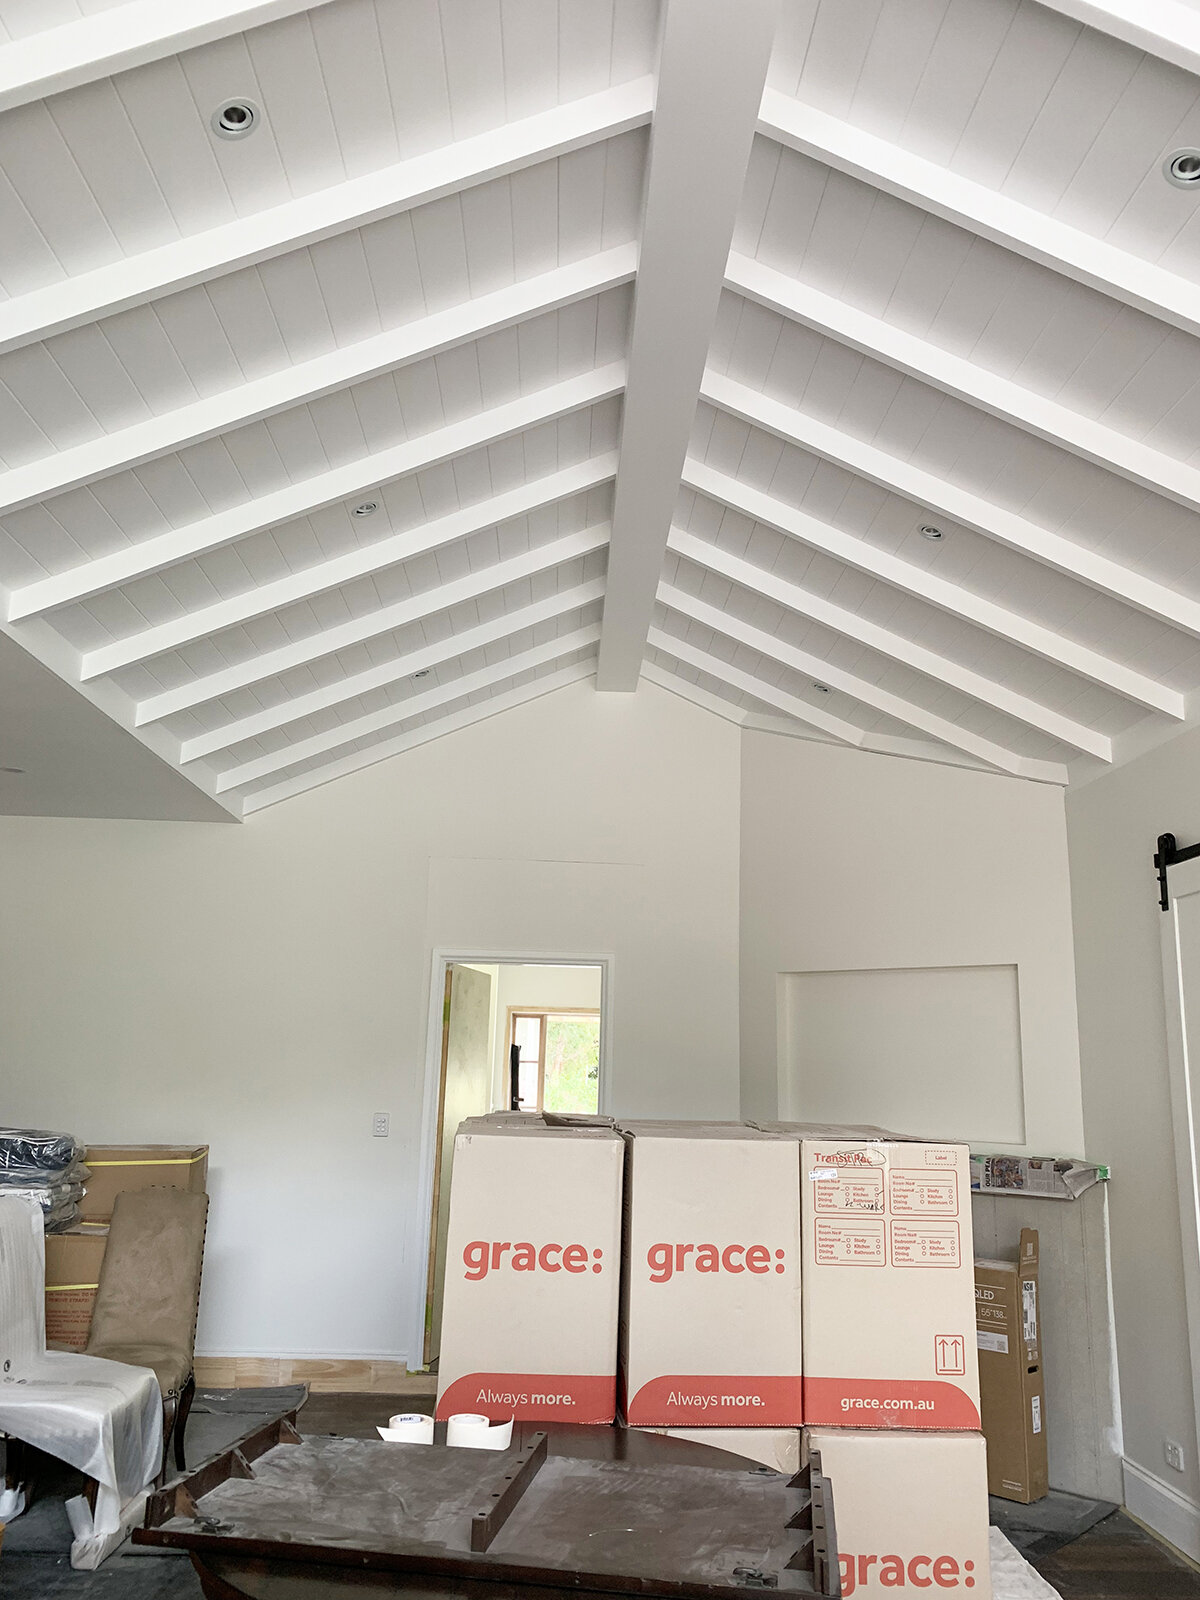
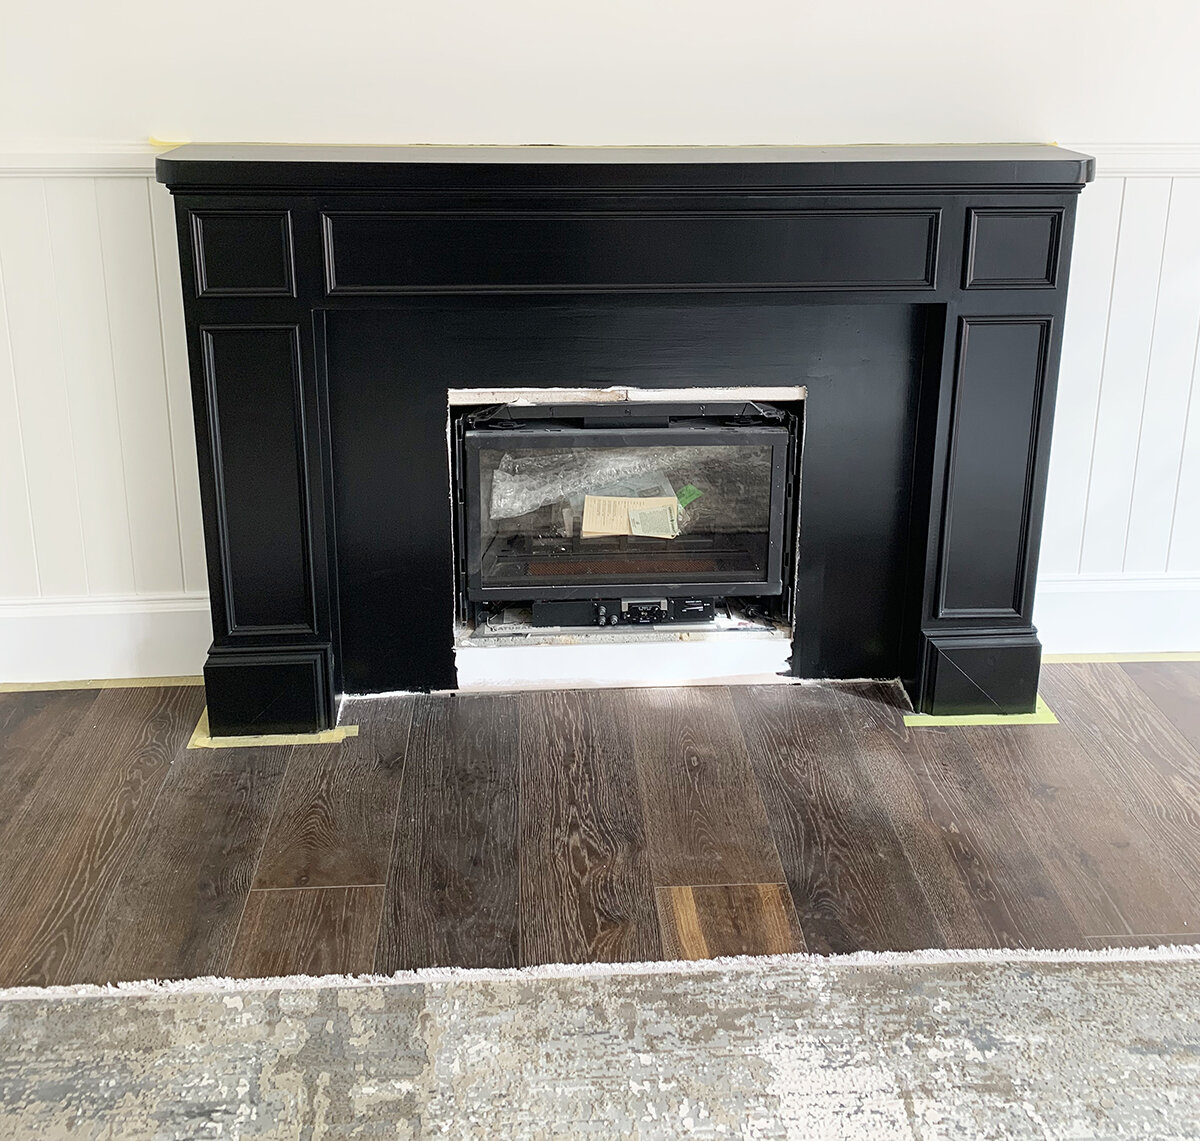
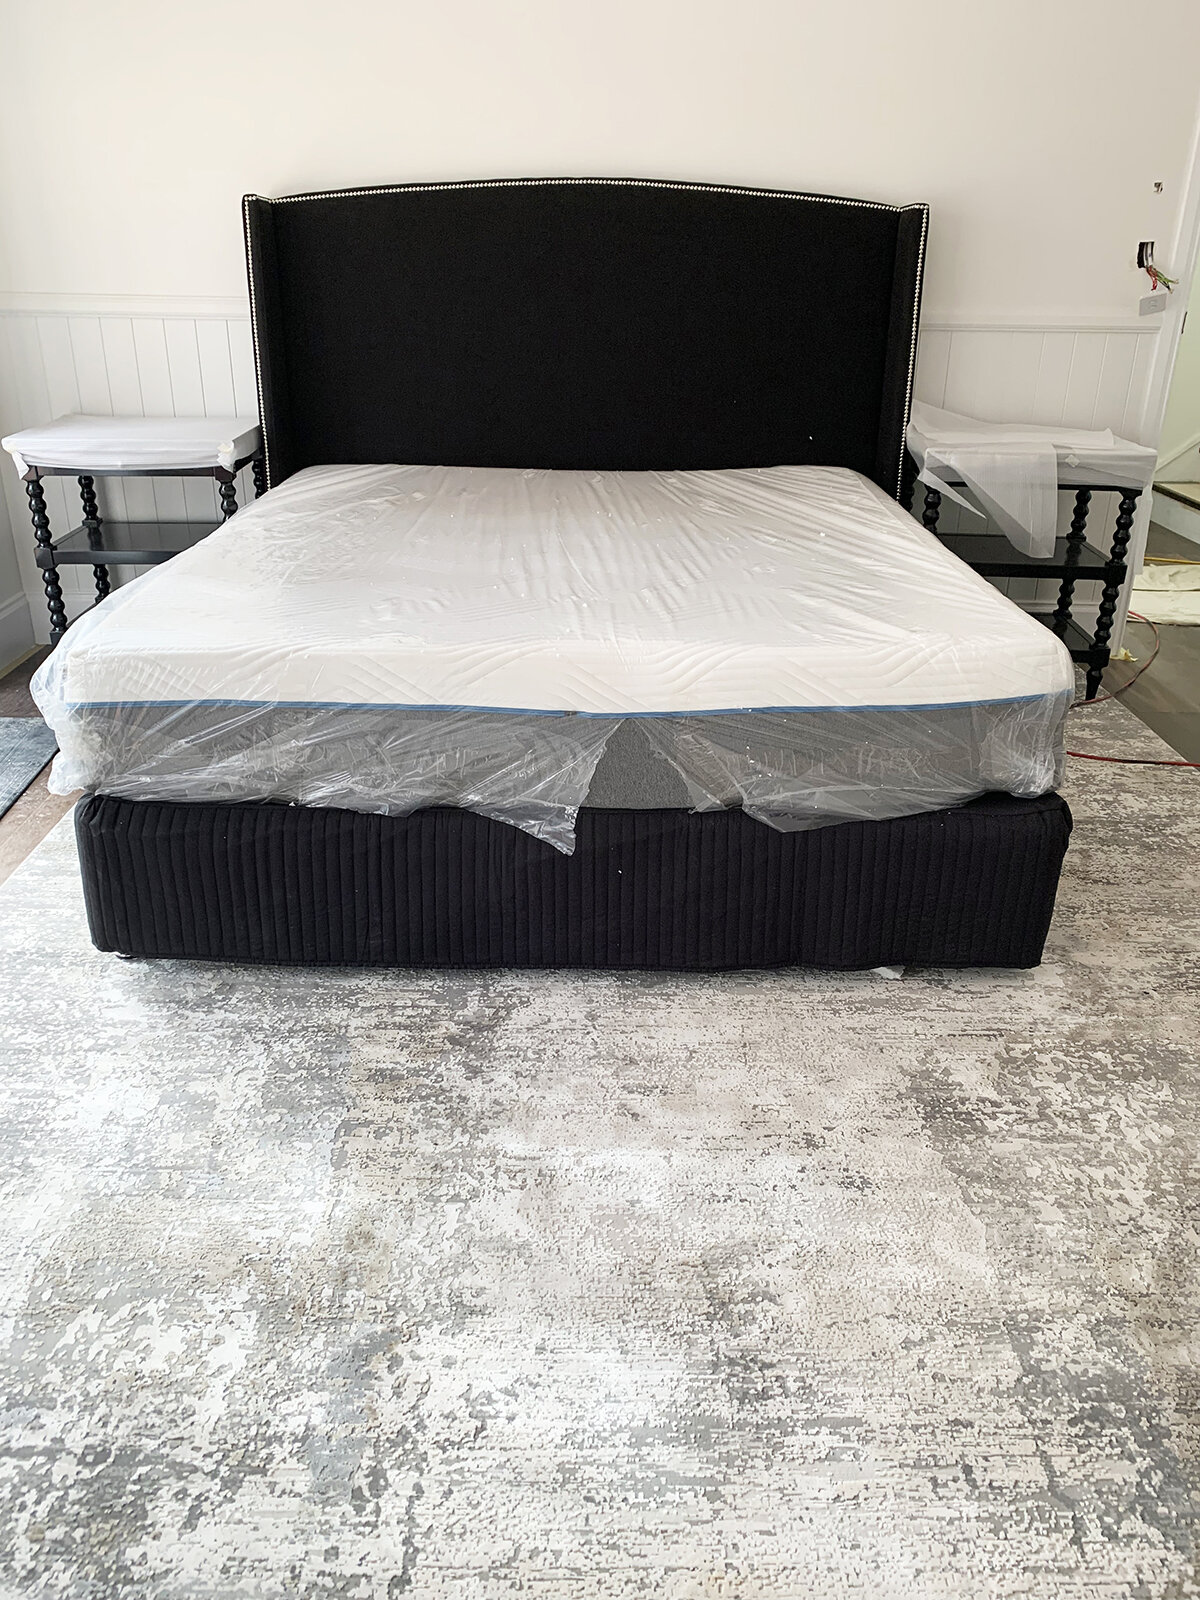
Here are a few sneak peeks from one of the jobs that I have been busily finishing off. I love the vaulted ceiling in the family room, the warm tiles in the powder room, the double herringbone tiles in the ensuite, the black fire place and the lights in both the bathroom and bedroom. Better shots to come.

I do hope today’s blog inspires you to add a little warmth and charm to you home. Until next month (actually later this month) bye for now. 

Take care

Jules xx

Warm up with the right rug.

As we head into winter you may have found that it’s a little chilly underfoot, I certainly have. This month’s blog is all about how rugs can add warmth and texture to a room and a well-proportioned rug can tie a room together and help zone spaces. 

I’ve just spent the last few weeks with one of my clients doing furniture and rug selections for their new home. Some of the questions raised were to do with knowing what size rug to put in each location and what material and colour would be best suited to each space. I am going to give you a few tips about what I take into consideration when selecting a rug.

AdobeStock_244534514_1200.jpg

RUG SELECTION TIPS


1. THE PERFECT SIZE

Size is the first thing you should consider. As a rule of thumb all furniture pieces in the space you want to zone should sit on the rug. Ideally, fully, but if that is not possible then at least the front legs of chairs and couches.

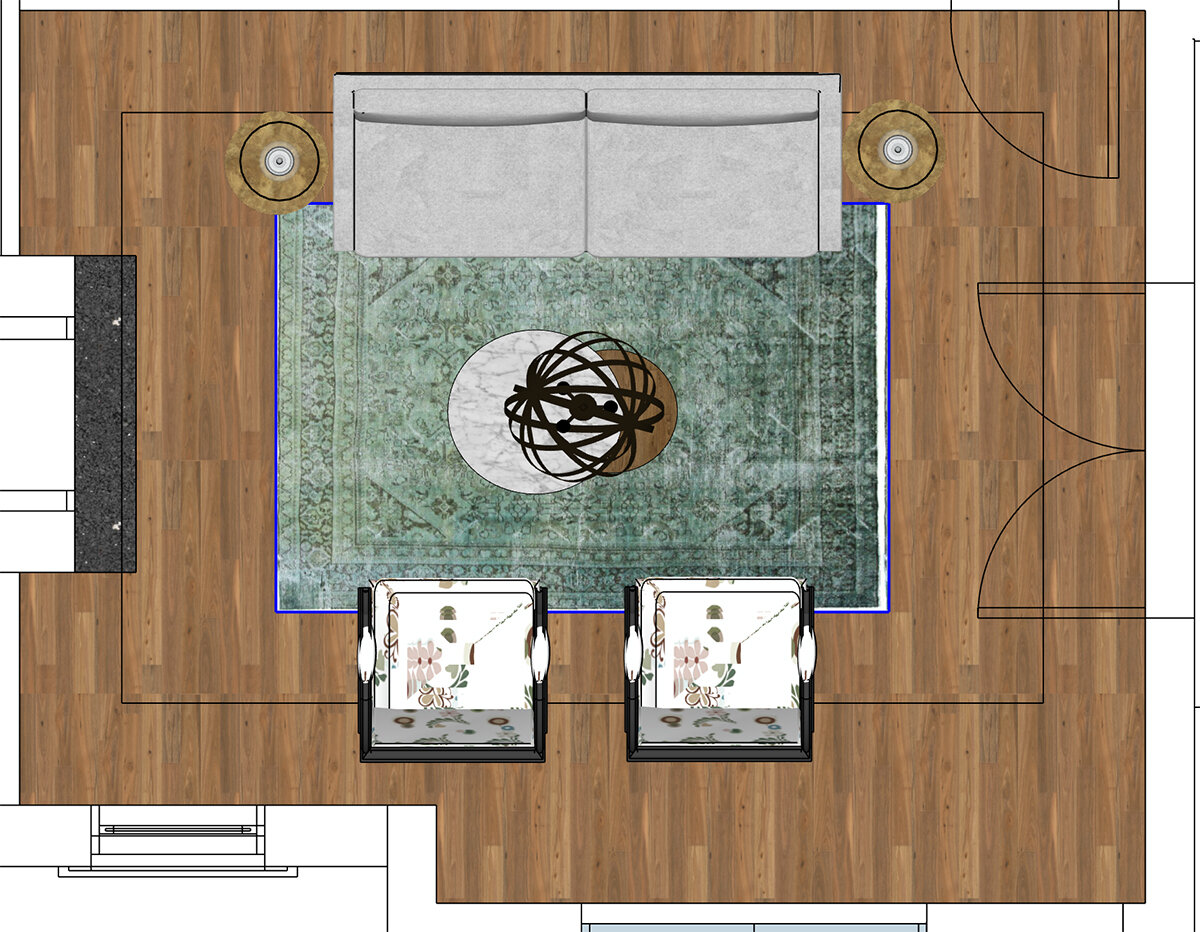
To get the size right I make sure that I draw up the room sizes to scale and include all the furniture pieces so that we ensure that all furnishings fit and you know what size rug you are looking for before you begin to look around.

Make sure that when you are looking at sizing that you also take into consideration door openings. As you can see in the image below, I had to ensure that the rug would not impede any door openings in the lounge room. This reduced the size of the rug so I had to make sure that the smaller size still allowed the front of the furniture to comfortably sit on the rug.

Living rooms

  1. Larger rugs make open plan spaces feel more intimate and zone the area. 

  2. Try to have some of the rug visible on either side of the rug, at least 20-30cm whilst making sure you have the flooring still exposed.

  3. In smaller rooms ensure that the front of the furniture pieces sit on the rug.

Here are some guideline layouts.

Living.jpg

Dining rooms

Rugs under dining room tables have a lot of pros and cons. Here are my thoughts. In a busy, casual, family dining area I probably wouldn’t use one especially if I had young children as you will be forever cleaning it. But in a formal dining room, rugs under the table can add a sense of sophistication, cosiness and elegance. 

  1. Using a rug the same shape as the table adds intimacy and elegance.

  2. Make sure the rug extends 50-60cm past the edge of the table to allow you to pull the chair out and remain on the rug.

Again here are some examples of dining room rug layouts.

Dining.jpg

Bedrooms

The use of a rug underneath a bed helps to soften a bedroom and anchor the bed within the room.

  1. If you have the space use a large rug and rest the bed sides on the rug and have approximately 70cm around the bed showing. 

  2. If using a smaller rug, position the rug to give your toes a soft and warm place to land when hopping out of bed.

  3. Round rugs can be used to create interest.

Bedroom layout examples.

bedroom.jpg


2. SHAPE

I touch on this a little above but repeating the shape of the furniture that will sit on it is a great way to create harmony and make the furniture pieces feel anchored.

3. TEXTURE

Texture is very important. There are so many textures in rugs to choose from these days that it can make the decision very hard. But here are some practical things to keep in mind about texture.

If you have a young family or pets that are prone to spills and dragging lots of dirt inside, beautiful textured rugs that you just want to sink your toes into are probably not the best as the dirt and spills will also sink into them. Keep that for a low traffic area or an adult only area unless you don’t mind regular rug cleans.

Flat weaves or low piles are easy to clean and vacuum and are more durable.

3. COLOUR

Colour can tie a scheme together. The use of colour in a rug is truly subjective. You may be one that like to use neutrals or a person that likes to add a pop of colour. You can use a rug as artwork on your floor and pull out colours from your rug in your cushion choices. Be careful not to be to matchy, matchy.

5. PATTERN

Again some people steer clear of pattern but pattern can add interest to a room, particularly if the furniture pieces are all very neutral in colour. Don’t be afraid to have a little fun with your rugs.

So, who would have thought there would have been so many factors to consider when choosing a rug. If you are feeling that chill on your toes make sure you consider these important points before you race off to your local rug shop.


3 THINGS I’VE LOVED RECENTLY!

As I mentioned I have been out rug shopping this last week and here are three of my top finds. I feel like I’m on count down and we are now at the top 3 hits.

…coming in at Number 3 The Bijou from The Rug Collection is one of my top finds. If is soft under foot. Adds texture to a room. It is flat enough for a family rumpus and can be cleaned easily as it is 100% pure wool. Finally there are so may colours in it that it works with a lot of schemes. Love it!! https://therugcollection.com.au/product/bijou/

…coming in at Number 3 

The Bijou from The Rug Collection is one of my top finds. If is soft under foot. Adds texture to a room. It is flat enough for a family rumpus and can be cleaned easily as it is 100% pure wool. Finally there are so may colours in it that it works with a lot of schemes. Love it!! 

https://therugcollection.com.au/product/bijou/

 
 …Number 2From Unitex International comes Reflections 105 Natural. This unique rug has a vintage feel. It is a mix of Bamboo silk and acrylic to give the softest under foot experience. Its natural hues provide a lovely ambience to your room. It provides a very sophisticated look, perfect for the bedroom!! Note Unitex is a wholesale company only. But you can find a distributor or purchase through your friendly interior designer!https://b2b.unitexint.com/RFN_dash_105_dash_NAT/REFLECTIONS-105-NATURAL/pd.php

 …Number 2

From Unitex International comes Reflections 105 Natural. This unique rug has a vintage feel. It is a mix of Bamboo silk and acrylic to give the softest under foot experience. Its natural hues provide a lovely ambience to your room. It provides a very sophisticated look, perfect for the bedroom!! Note Unitex is a wholesale company only. But you can find a distributor or purchase through your friendly interior designer!

https://b2b.unitexint.com/RFN_dash_105_dash_NAT/REFLECTIONS-105-NATURAL/pd.php

 
…and coming in at Number 1!!!!The beautiful Diva from The Rug Collection. It is a Handloom knotted rug from NZ. It comes in 6 of the most beautiful colours but my favourites are the Lilly pad green and the Odyssey Blue.

…and coming in at Number 1!!!!

The beautiful Diva from The Rug Collection. It is a Handloom knotted rug from NZ. It comes in 6 of the most beautiful colours but my favourites are the Lilly pad green and the Odyssey Blue.

Why do I like this rug? I love the unevenness of the colour that gives it a sense of texture. The colours are rich and warming. It is very durable and versatile.https://therugcollection.com.au/product/diva/

Why do I like this rug?

I love the unevenness of the colour that gives it a sense of texture. The colours are rich and warming. It is very durable and versatile.

https://therugcollection.com.au/product/diva/


PROJECT UPDATE

I’m just finishing off a new build in Pymble and want to share a few snaps of where we are at. I absolutely love the Hinkley lights in the kitchen.

Lynns Kitchen_Retouch.jpg
Lynn's Kitchen_Retouch.jpg

The mud room is coming together. Who doesn’t like somewhere to dump the school bags and jackets.

Lynns Mud Room_Retouch.jpg

The formal dining room will look stunning with a beautiful mirror centered in the wainscoting with a sideboard under it.

Lynns Dining Room_Retouch.jpg

Now you see it, now you don’t. The perfect way to hide a store room under the stairs. Disguise it with wainscoting in the same colour and design as the rest of the wall.

Lynns Store room 2_RETOUCH together.jpg

I do hope today’s blog inspires you to add a little charm to you home. Untill next time, bye for now. 

Take care

Jules xx
What does an interior designer do?

Over the last month I’ve had several people ask me what it is that I do. This has stemmed from two friends that have had a property stylist help them to get their home ready for sale. It has opened their eyes to the fact that people in our industry can help make their home feel more relaxed and appealing. But they have both asked what is it that I do and what is the difference between a stylist, interior decorator and an interior designer. So today I am going to try to clear this up in a very simple way as to what the differences are and what we can bring to the table. 

Burton_Lounge_3_1200 x 900.jpg

DESIGN IDEAS


When I started to become interested in property renovation, flipping and building new I didn’t understand why a designer could be a good person to speak to as part of my building and decorating process, but now having studied interior design and decorating, let me share with you what we do and how we can help with your projects.

Firstly what is the difference between an interior designer, decorator and stylist. A lot of people think the terms ‘interior designer’, ‘interior decorator’ and ‘interior stylist’ are interchangeable names for exactly the same profession. This isn’t the case though, depending on what problem you have that you need help with, this will drive who you need to speak to.

I found this description of the different roles on build.com.au that I have added a little to that I thought I’d share with you as it explains the roles well.

What’s the difference between interior designers and interior decorators?

To set the record straight:

• An interior designer holds a tertiary qualification in this discipline (typically a degree or advanced diploma in interior design) and is concerned with every aspect of the way in which interior spaces are laid out, allocated and used.

• An interior decorator typically holds a qualification in interior decoration (normally a Certificate IV), and is concerned with dressing an interior with things like paint, furnishings, floor coverings, and fabrics for aesthetic purposes.

• An interior stylist typically also holds a qualification in interior decoration (normally a Certificate IV) or no qualification and just a passion for interiors. They are concerned with dressing an interior for sale or to update an existing room with temporary things like art, furnishings, floor coverings, and soft furnishings.

What is an interior designer?

There are a lot of different aspects to building design. It’s not uncommon for an architect or building designer to be tasked with designing every single part of a house, but in many cases specialist designers (interior designers, landscape designers and specialist lighting designers, for example) will be employed to design particular bits of a home.

In the case of interior designers, this work is often done on a standalone basis, usually to improve on existing buildings rather than as a part of the initial design process. Ultimately, an interior designer’s role is to create functional, safe, efficient, comfortable and beautiful interior spaces that are fit for their purpose.

As we've already mentioned, interior designers normally hold a bachelors degree or advanced diploma in interior design. Interior designers study the theory and practice of design in considerable detail - some of the things they learn about include:
• Lighting design
• Materials, finishes and colour
• Design theory and history
• Building systems and technologies
• Sustainable design/building practices
• Design for accessibility and utility
• Project management
• Relevant Australian Codes and Standards

As well as designing and decorating building interiors (something they also do), interior designers normally have a good working knowledge of construction practices and documentation requirements, and can work confidently with other designers and tradespeople to ensure that the interior spaces they design are appropriate and properly implemented. 

What is an interior architect?

Just to add to the confusion, many designers also refer to themselves as 'interior architects'. Interior architects are normally either trained architects who choose to specialise exclusively on interior projects, or graduates of an 'interior architecture' degree like that offered by Monash University through its Faculty of Architecture.

What is an interior decorator?

While interior decorators’ study and work on many of the same things as interior designers, their job typically doesn’t involve moving walls, installing services or planning for things like safety and utility. This is really the main difference - interior decorators are exclusively concerned with decorating what’s already been built. Interior decorators are aesthetic specialists, and are likely to have diploma-level qualifications in their field.
 

What is an interior stylist?

It's a little murky, but 'interior stylist' is the generally accepted name for someone who does interior decoration without having any formal qualifications or education in this field. Interior stylists can be as talented, knowledgeable and professional as decorators, of course - but this is something you may need to judge based on their previous work and references.

Interior stylists are specialists at 'styling' interiors, and as such they're often employed by real estate agents to temporary style, furnish and decorate homes in preparation for their sale (this is called 'home staging'). Stylists may also specialise in styling and arranging interiors for magazine shoots.

I hope that has cleared up the difference between the different services we provide. But here is my two cents worth. Having an interior designer involved up front with a new build can help you put together a clear brief to an architect. Understanding the way in which you may want to utilise a room and what pieces of furniture you want in that room drives room sizes. One of the things I do as an Interior designer is understand cabinetry requirements, furniture placement and circulation spaces so that room dimensions are correct. You don’t want to end up in the situation where a room is too small for the way you wanted to live in it because you haven’t communicated that you wanted that large L shaped sofa or that built-in in piece of cabinetry. 

Having interior designers, decorators or stylist involved in your project can be beneficial in lots of ways. Whether you have no idea where or how to begin to design and decorate your home, or whether you have a Pinterest page full of ideas but need help trying to piece those ideas together, or you simply haven’t the time to source your style and desires due to your busy day to day schedule, an interior designer can help. Toss aside the idea that we are just glorified cushions fluffers and décor shoppers. In reality, we can save you a great deal of time by knowing where to find your desires. We can save you money by avoiding costly mistakes and make savings though my trade contacts. We can also save you from the stress of countless questions and decisions that need to be made during a build or a decoration job by presenting a full concept and the items that meet that concept.


3 THINGS I’VE LOVED RECENTLY!

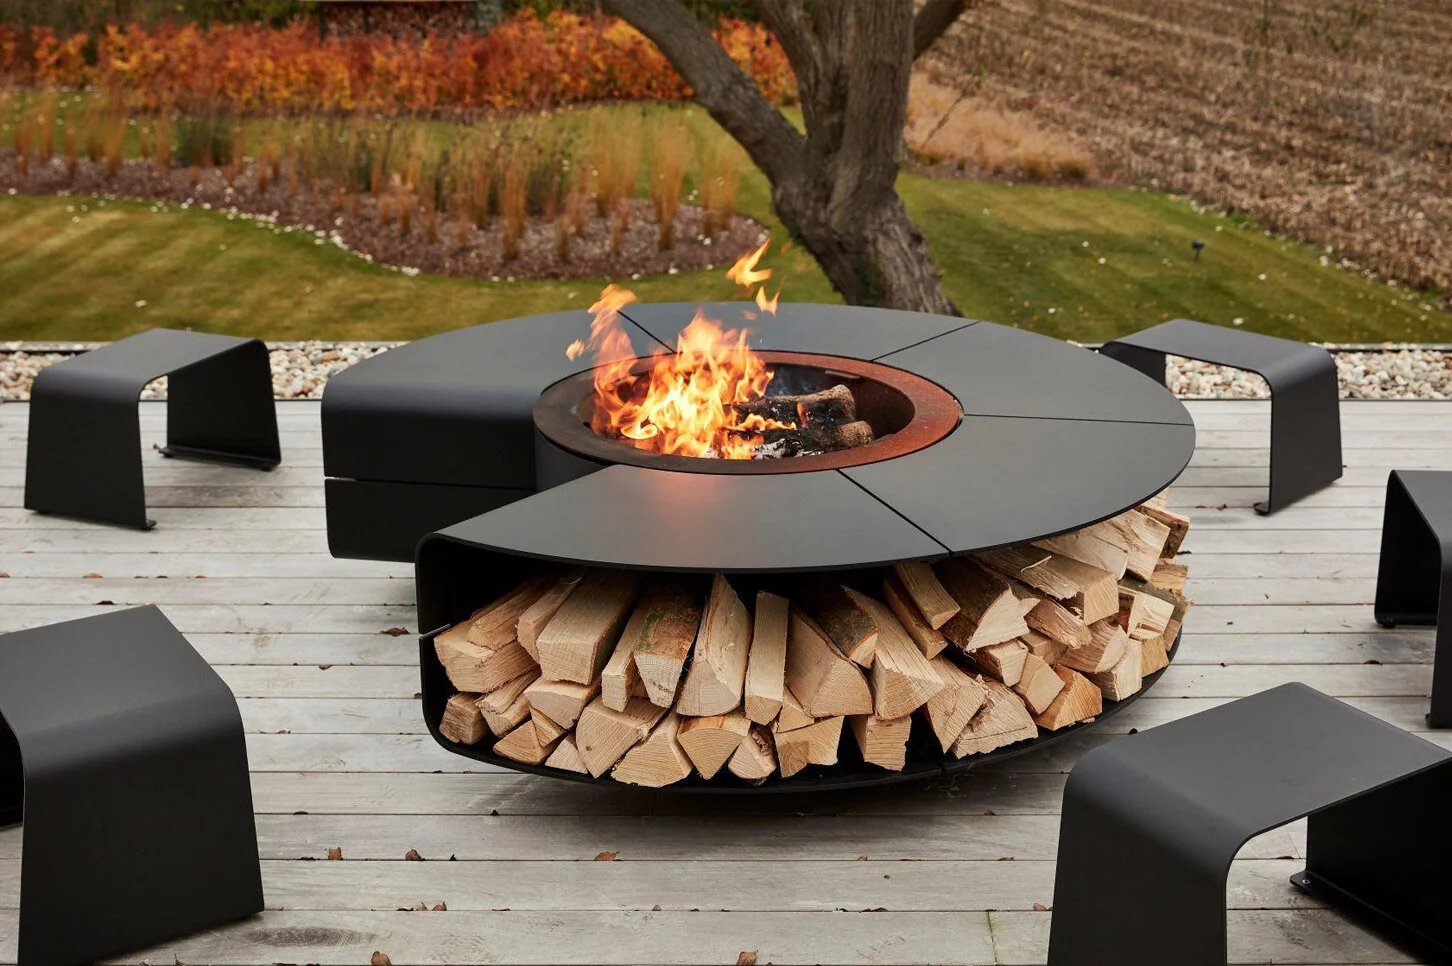
I had to go to Bunnings the other day to look for thermometers for my youngest sons science project, any excuse to go to Bunnings is taken up by me, love the place! When I’m at Bunnings I always check out the seasonal area and it was all about outdoor fire pits which I covered in my last newsletter, check out my blog about them. But I didn’t cover off wood storage and there are now some very beautiful storage solutions I found at Bunnings and elsewhere so here they are.

Love this for storing wood outside.Scandia Round Wood Storage - 75cm (Black) Blackhttps://www.bunnings.com.au/scandia-round-wood-storage-75cm-black-black_p3171650

Love this for storing wood outside.

Scandia Round Wood Storage - 75cm (Black) Black

https://www.bunnings.com.au/scandia-round-wood-storage-75cm-black-black_p3171650

 
This one is a really great sculptural shape and comes in this lovely natural finish.Scandia Beehive Log Storage - 850mm Corten Brownhttps://www.bunnings.com.au/scandia-beehive-log-storage-850mm-corten-brown_p3171647

This one is a really great sculptural shape and comes in this lovely natural finish.

Scandia Beehive Log Storage - 850mm Corten Brown

https://www.bunnings.com.au/scandia-beehive-log-storage-850mm-corten-brown_p3171647

 
Scandia Cantilever Log StorageI can’t find this one on the website of Bunnings so it might just be in particular store but this one would look great indoors as well as out.

Scandia Cantilever Log Storage

I can’t find this one on the website of Bunnings so it might just be in particular store but this one would look great indoors as well as out.


PROJECT UPDATE

For those of you that have been following along with the design story of my new build home, I just want to share the next phase of where we are at and why having a interior designer involved upfront can help with your project planning. 

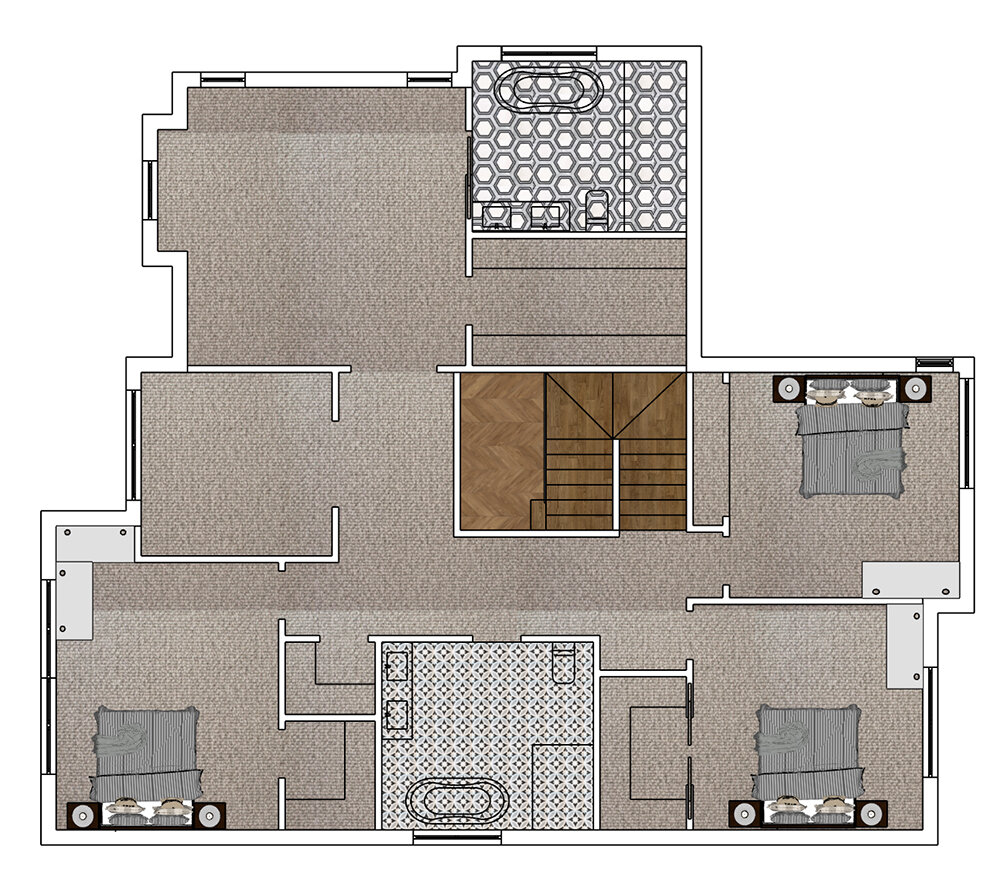
Here is the ground floor of our new home. I do this drawing in a program called SketchUp which allows me to draw up plans to scale, load in all finishes and design all the cabinetry and fittings in 3D (I’ll show you this part next month). The benefit of doing this and utilising the help of a designer ensures that your room sizes are big or small enough. We were able to give our architect feedback on the size of the family room and add an extra half a meter into the back of the room so as to give us better circulation space around our L-shaped lounge.

Evelyn Ground Floor_SMALL.jpg

In the first-floor area we had much debate around which rooms our boys wanted. Having the ability to move furniture around and play with layouts and sizes at this stage meant we were able to resolve who has which room and now I can customise their decorating detail to the room they have chosen. 

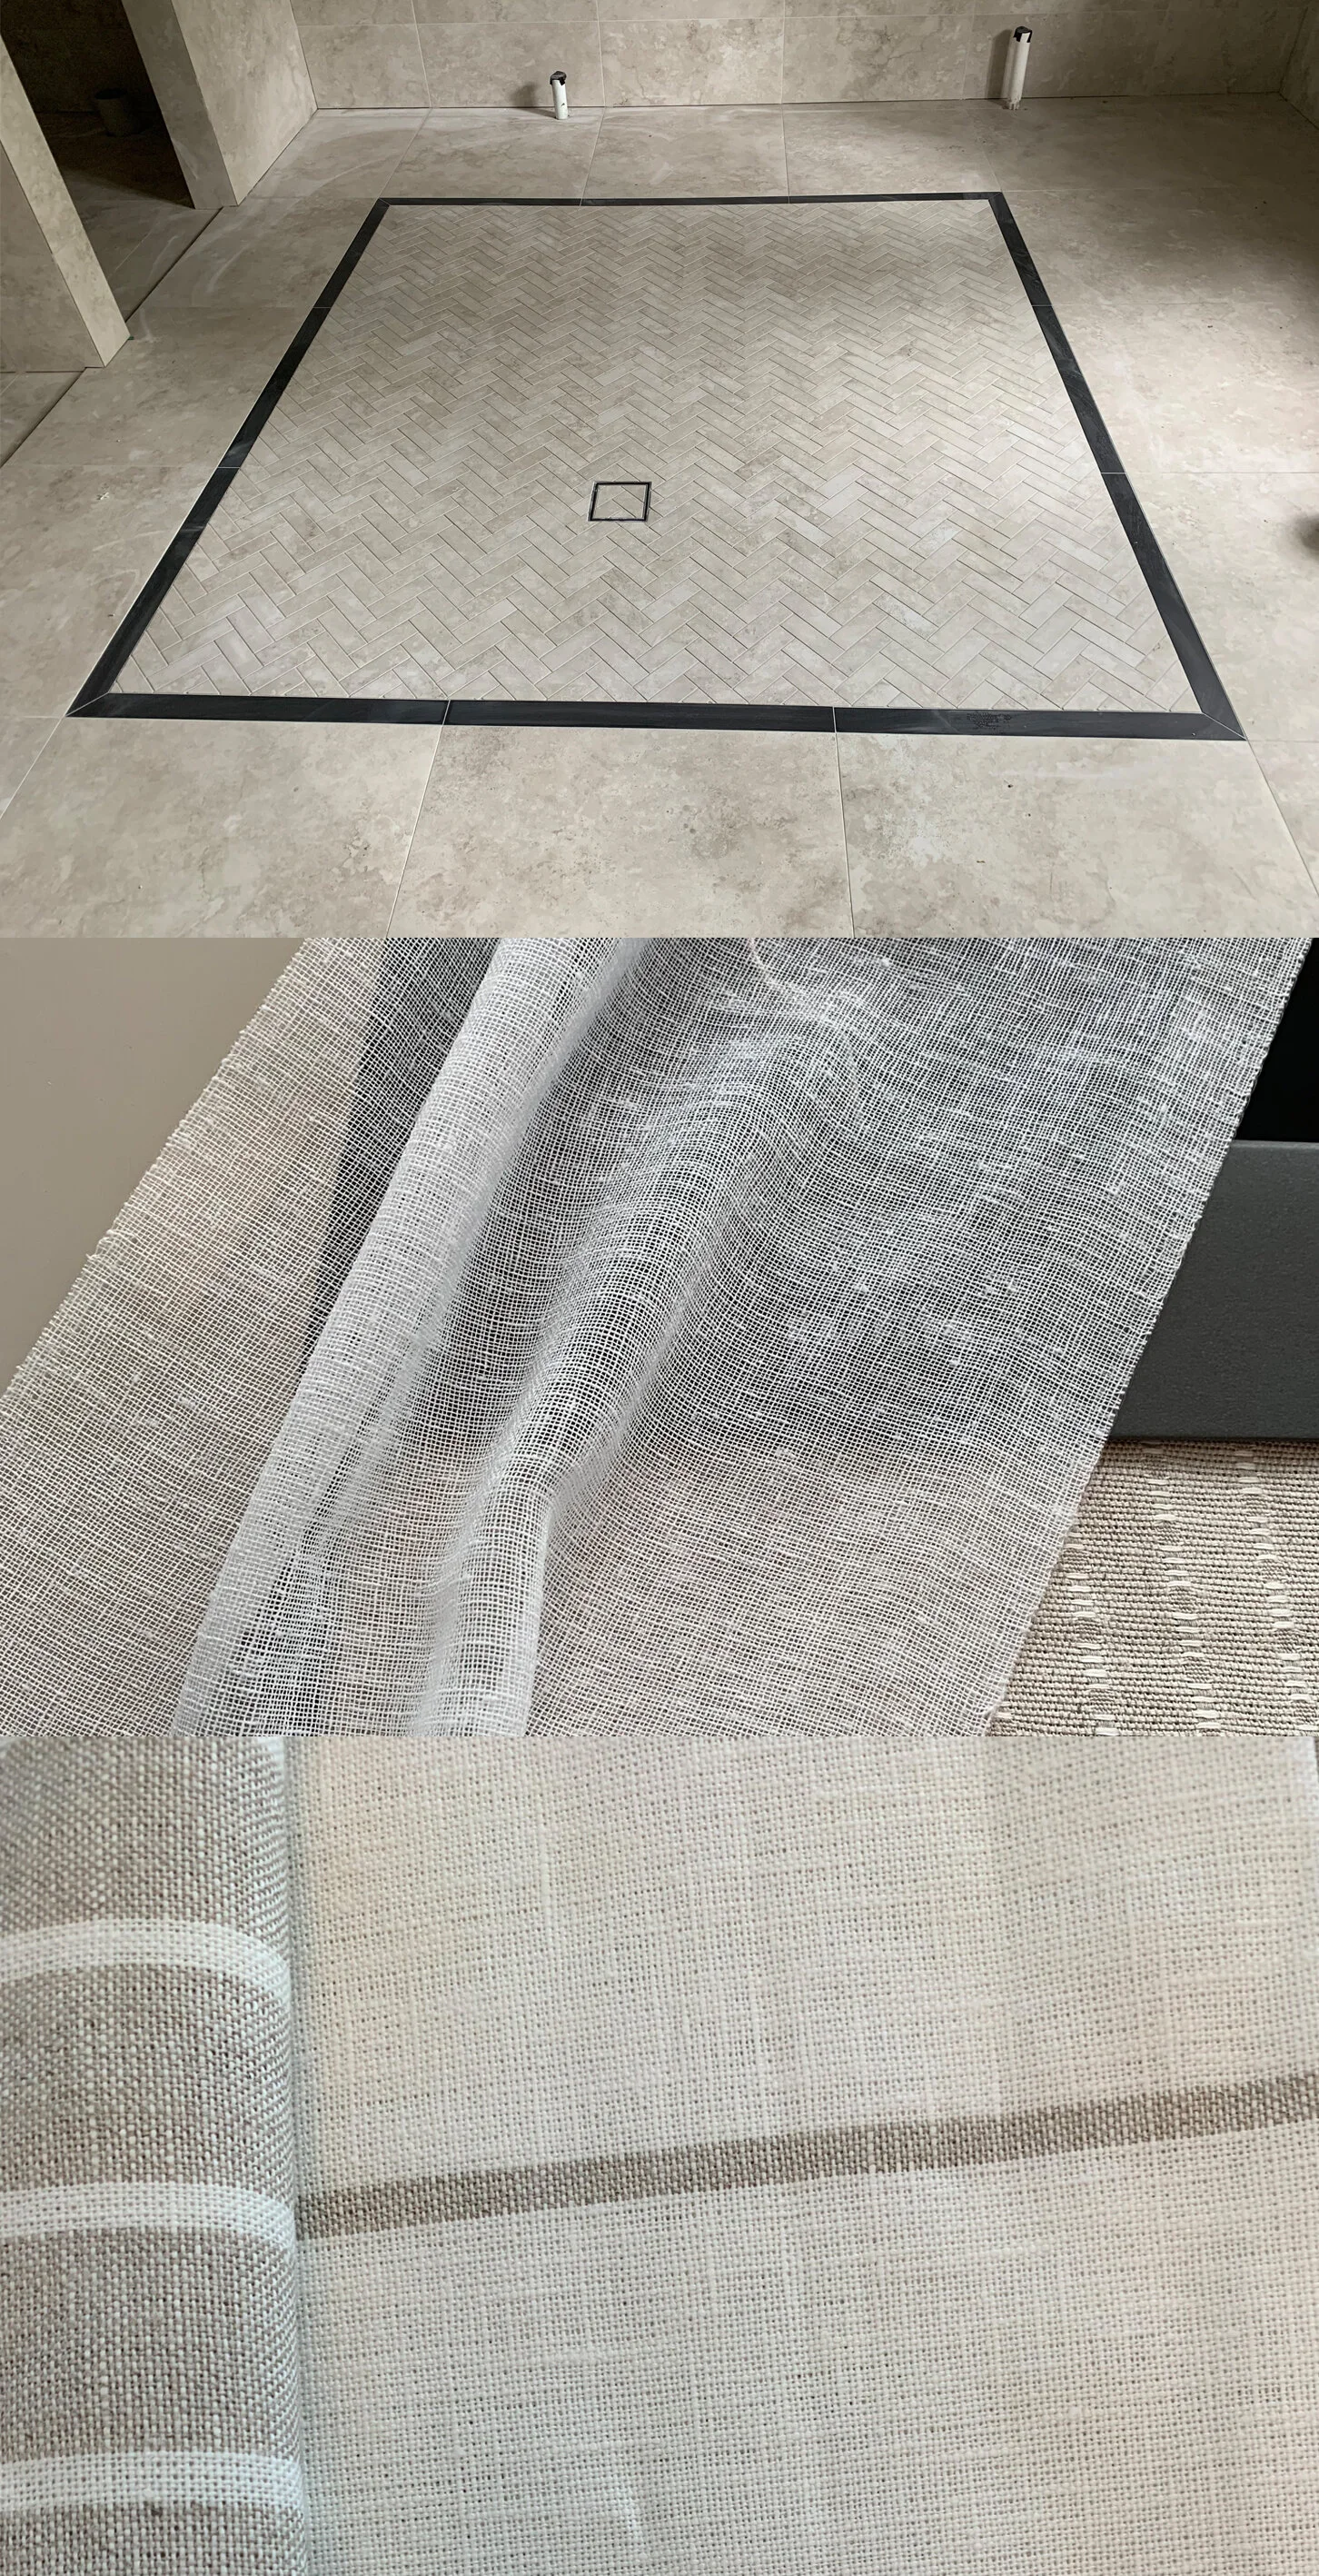
Floor finishes have also been chosen and wiring considered as we are about to lay the ground floor slab and I need to have these decisions made so as to know if we wanted to include and floor boxes for power. I like to use these so that you don’t have cords from lamps going across to power points. They are hidden under the couches.

Evelyn Ave FIrst Floor_SMALL.jpg

Must fly now as I need to get out to a fabric house to choose some curtain fabrics for a client. Just at the decorating stage of a renovation.

Take care

Jules xx

Shut out the winter blues, trap in the warmth!

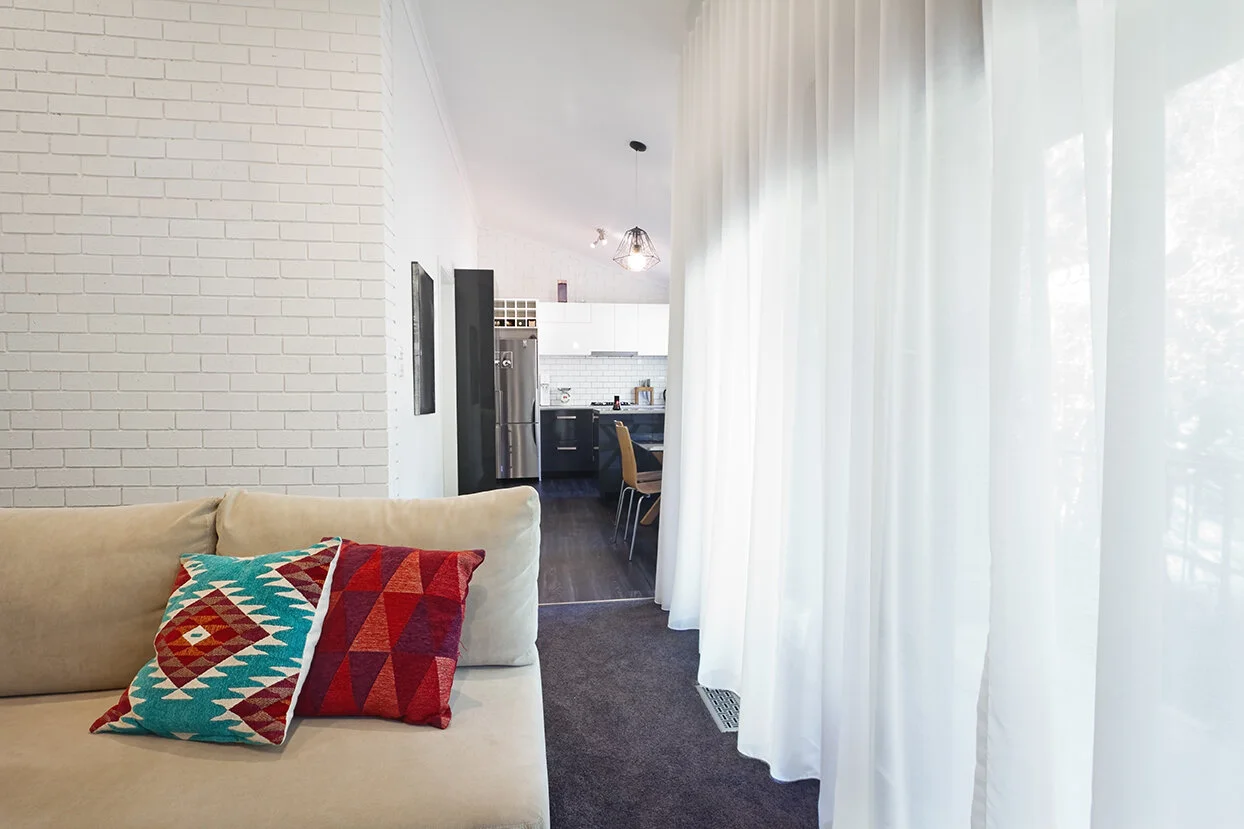
This month I have been busy with the final soft furnishings, window treatments and furniture of two builds and have been holding off writing this blog until I had resolved a few issues with the window treatments so I could pass on the learnings to you. Therefore, this blog’s design ideas is all about window treatments.

Header_Curtains_SMALL.jpg

DESIGN IDEAS

As the cold months close in, it is important to think about window treatments and how curtains, blinds and shutters can keep out the cold and hold in your heat. But here are a few things to consider when installing window coverings.

Here’s the story of what I’ve learnt about window treatments that I want to pass on to you today. I have been working with a client of on a new build for the last 18 months. From design inception through the build and we are just at window furnishings stage. During the design stage we made sure that we made room within the window sill and architrave for shutters to sit so we didn’t have to box them out. We knew that we wanted curtains in the bedrooms so we allowed extra timber in fixing spots behind the gyprock so that they could handle the weight of the curtains. We knew that we wanted the curtains to be electric so we included wiring in the electrical plan. The architects plan has a window either side of the bed with a gap to the northern and southern walls where we could stack the curtains when open. So, everything made sense on paper…

So, here’s the stumbling block. The client decided to add the electric curtain part to the build after plans had been finalised and the build was underway. When you use electric curtains mechanisms they don’t allow the curtains to open as far as normal curtains so the curtains for the small windows either side of the bed and on the eastern wall wouldn’t stack back into the corners. When open they were going to still cover part of the window and my client wanted to have the whole window uncovered when the curtains were open. So, it was back to the drawing board to find a solution.

Final solution was to keep the electric curtain on the northern wall and use electric Roman blinds on the small windows so that they were still able to get a luxury hotel experience of lying in bed and opening the window furnishings to the morning light.

So the big learnings that I want to share with you are the following:

1.     Consider your window furnishings right up front if you are lucky enough to be designing a house from scratch. 

2.    Include enough wall space to stack curtains so that they are not obscuring your window and view if that is important to you.

3.    Curtains take up 1/3 the space of the closed curtain when open. More if electric. Enquire with curtain supplier before finalising plans.

4.    Include electrical wiring in the initial electrical plan, if needed.

5.    Include extra studs to support heavy curtains before you gyprock the walls. (I learnt that one from a job a few years ago, where there weren’t enough studs to support a heavy curtain and it came down). Lucky it was my place and I got the builder to open up a few spots in the wall and put in extra studs to support the fixtures.

6.    When wanting to install shutters over windows advise your builder upfront as they can set the window further forward to allow room for the shutter within the window frame.

7.    Mounting curtains and blinds higher up the wall lifts your eye and makes a ceiling feel higher. Go at least ½ half to 2/3 the way to the ceiling. Or if you want an opulent feel, mount curtains on the ceiling.

8.    You can use curtains or blinds to cover different height windows in the same room by mounting them at the same height.

9.    Let’s talk curtain lengths. We want to make sure we get the length right. There are three lengths when taking then to the floor. You can either float, hug or puddle.

FLOAT – have the curtains finish just around 2 cm about the finished floor height.

HUG – This is the hardest to achieve as you need to be very accurate with the measure. It does look the most custom, but don’t forget to include ring and clip heights in your measurements.

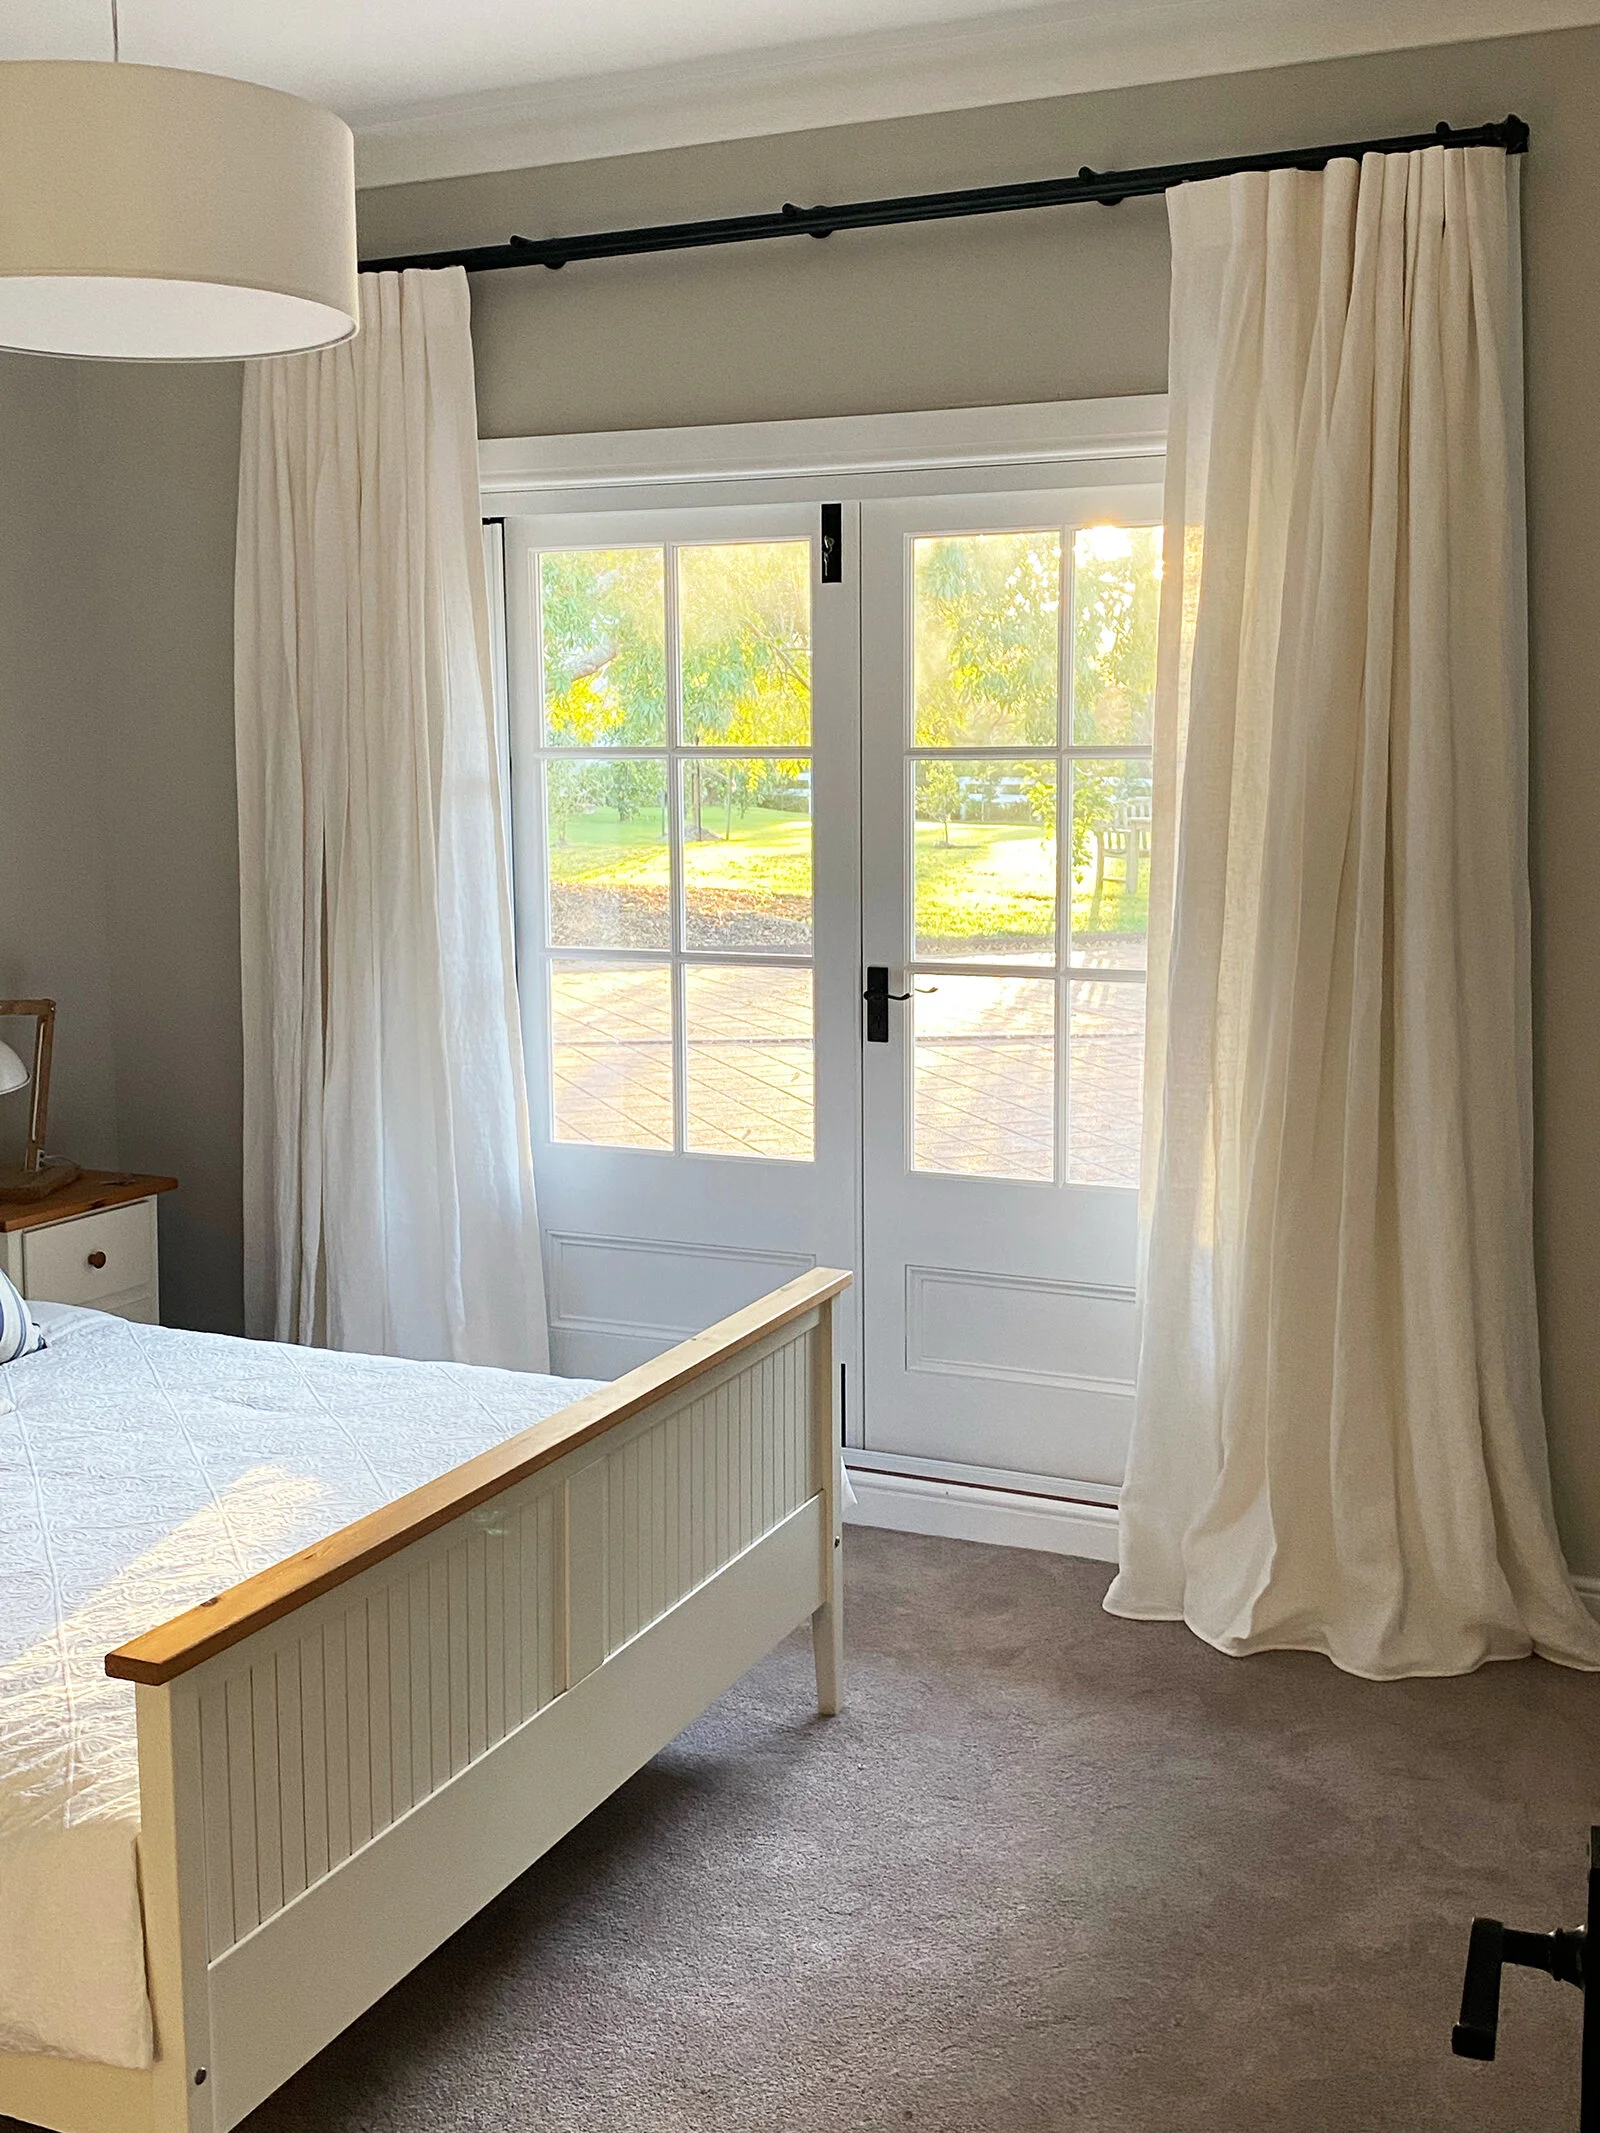
PUDDLING – This is a lovely romantic and feminine approach. I’ve done this recently for a client where we were wanting a romantic effect in a bedroom with French doors. This technique also allows for any stretch up fabrics to be obscured. Linen does stretch. As you can see below. The puddle effect is beautiful. Note the rod position (in the below photo) is also 2/3 the way above the door. Lengthening the height of the room.

10.Consider window treatments as part of your heating and cooling plan. In winter they can keep the warmth in and the cold out and in summer the reverse, they can keep the heat out. 

My message to you is, if you have the opportunity to build from scratch or are renovating you home and have the ability to change windows, please consider your window furnishings as they do impact the build. With all of this in mind, now is the time to get those windows covered to keep out the chill and block in the warmth for winter.

Corals Puddled curtains_Lighter_SMALL.jpg

3 THINGS I’VE LOVED RECENTLY!

I am loving the new Venus Charlton fabric by James Dunlop. Available from Mokum Fabrics  I am using the Ivory colour in the job I explained, backed with a lining that will keep out the elements and keep it nice and dark.

I am loving the new Venus Charlton fabric by James Dunlop. Available from Mokum Fabrics  I am using the Ivory colour in the job I explained, backed with a lining that will keep out the elements and keep it nice and dark.

 
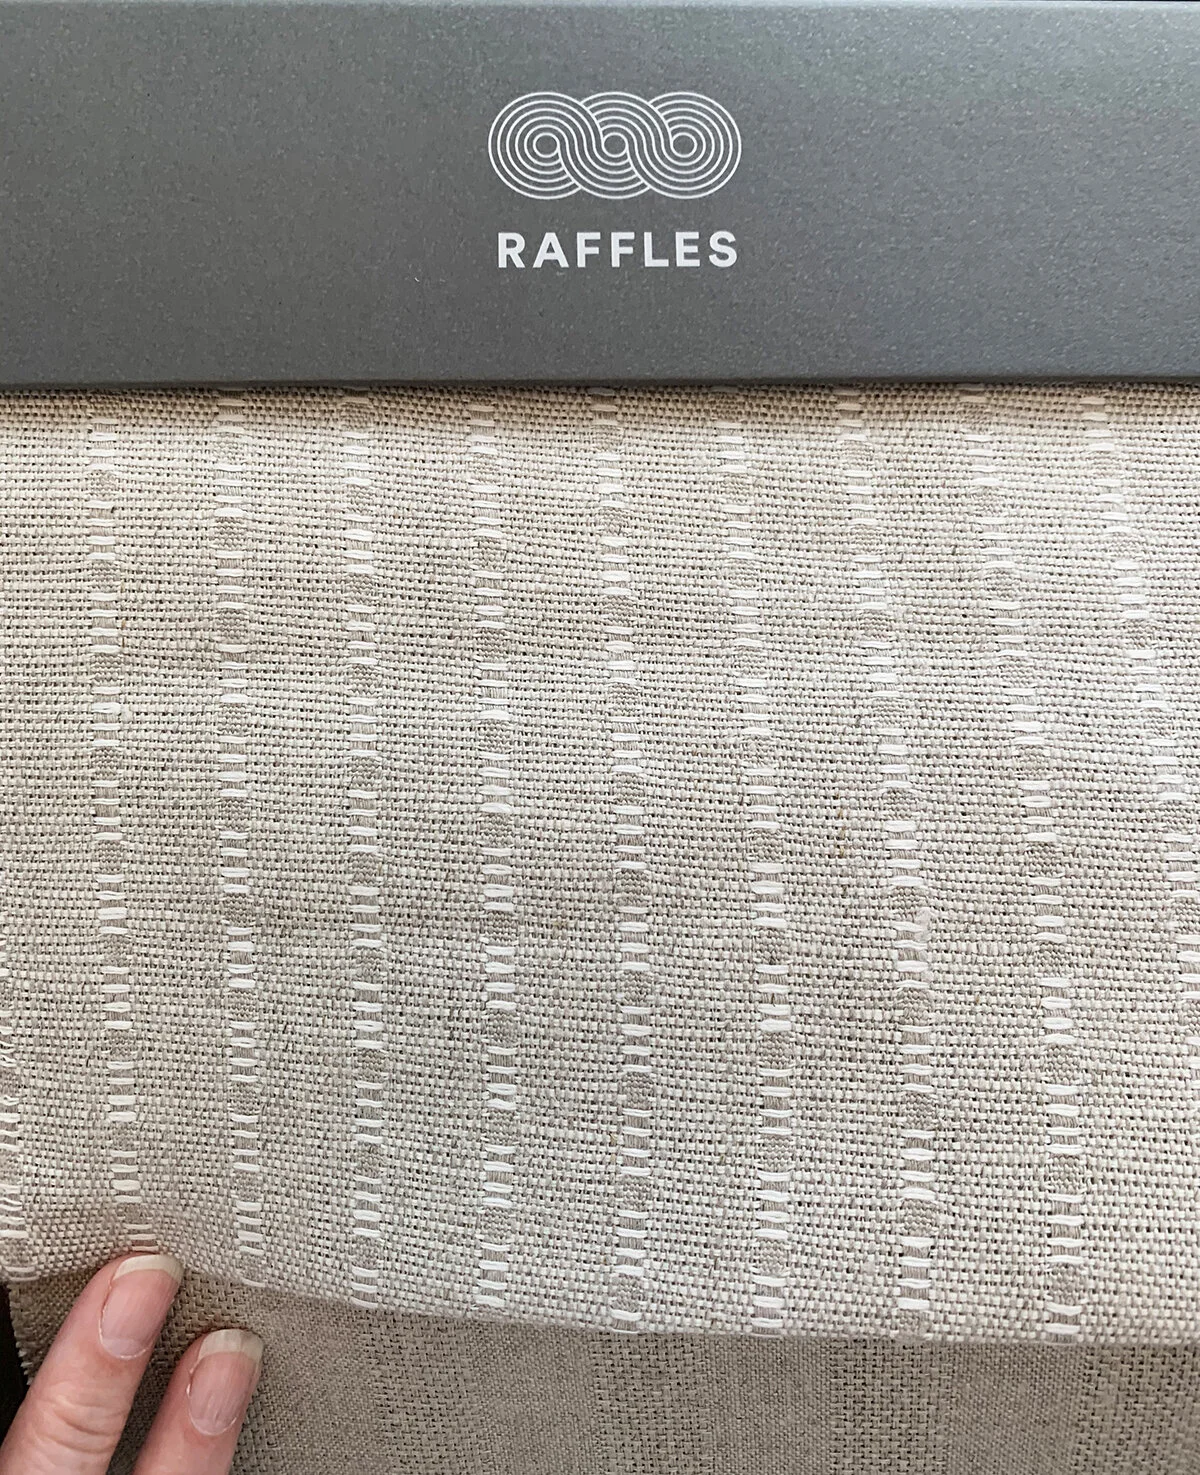
This fabric is gorgeous too. It was the original one we wanted to use in the property I was telling you about but, alas, not enough in stock. I’ll use it for cushions instead. Charlise in Oartmeal by Raffles

This fabric is gorgeous too. It was the original one we wanted to use in the property I was telling you about but, alas, not enough in stock. I’ll use it for cushions instead. 

Charlise in Oartmeal by Raffles

 
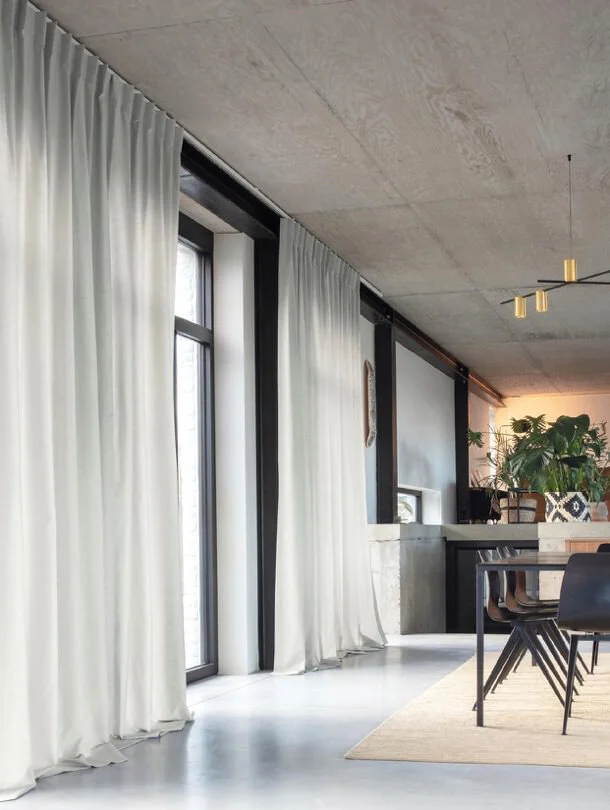
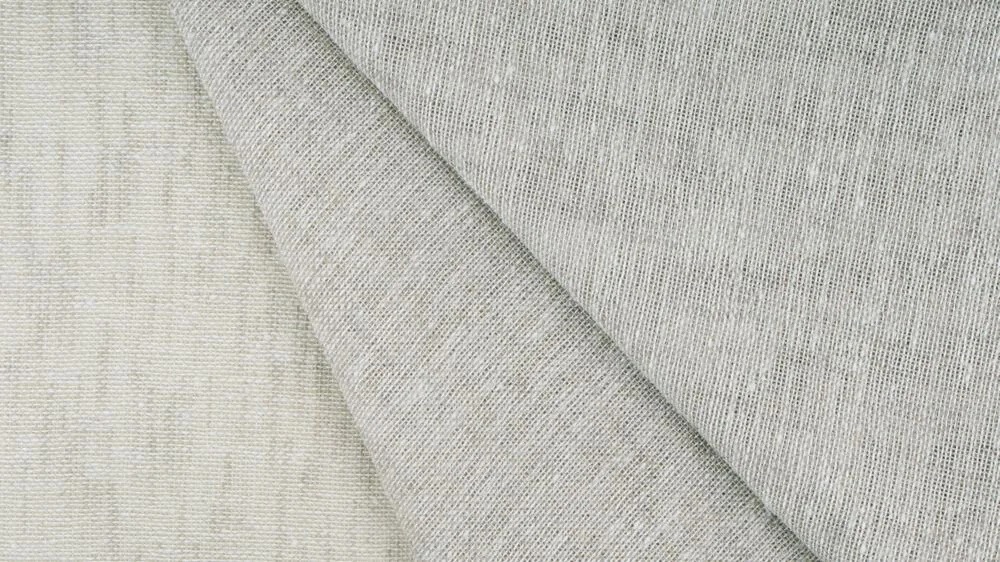
If you’re looking for a great sheer with texture that falls well I love this sheer from Nettex, Vevey.

If you’re looking for a great sheer with texture that falls well I love this sheer from Nettex, Vevey.


If you are heading down the track of window furnishings the team at Blind Inspiration have been great to deal with.


PROJECT UPDATE

If you have been reading my newsletters for a few months now you know I am building my own place this year and am very excited as we have just finalised our plans and have made sure to include thoughts on window treatments as we have been in the design phase. 

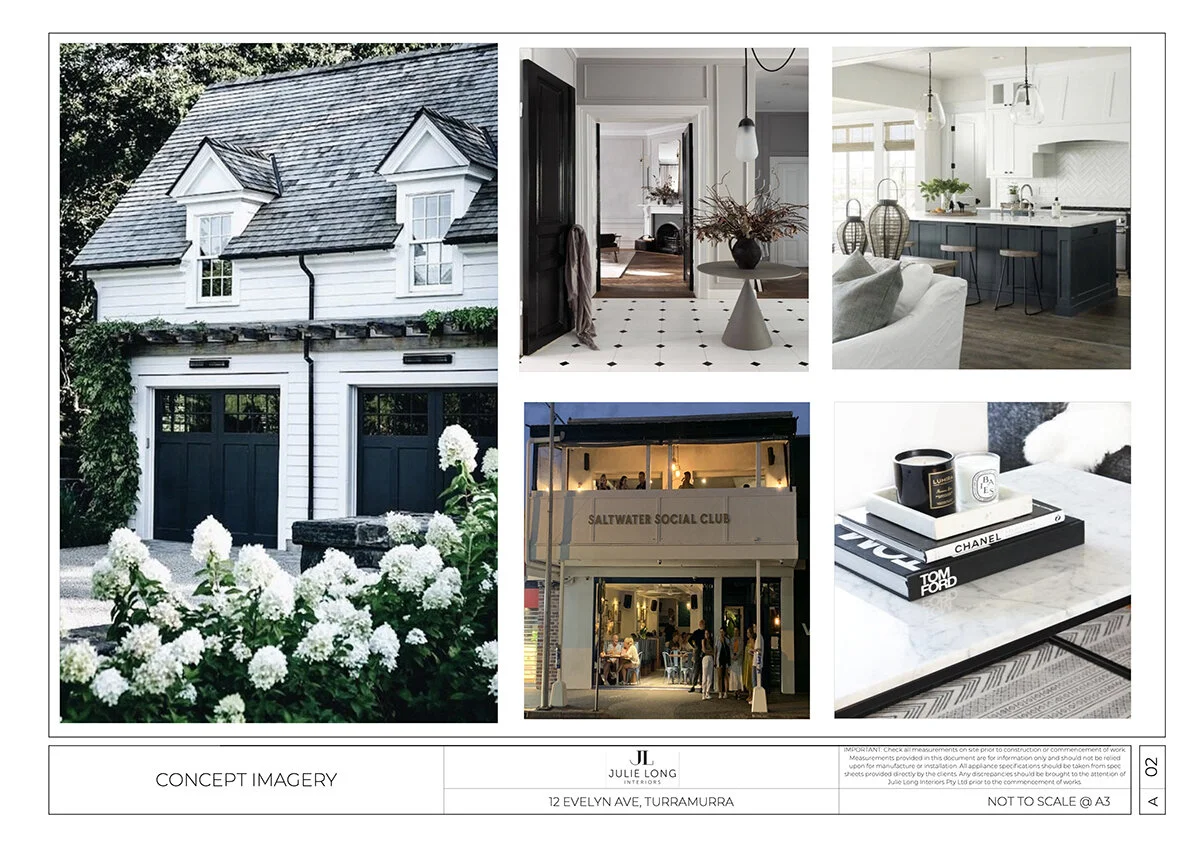
We have just had the final plans back and I have just finalised my first step of the design process. I have created my mood board to check all my design ideas and selections against. I do this with words and imagery. I hope you like it.

Evelynn Concept Imagery_SM.jpg
Evelyn Concept Imagery_SM.jpg

That’s it for this month. I do hope you all enjoy the Easter school holidays and maybe consider window furnishings right up front in your next project rather than at the end when the majority of people do.

Take care

Jules xx

Marshmallows on the fire...anyone?

Fire pit Turramurra HR.jpg

As we come to the end of Summer, I am sitting here with my thoughts turning to cooler nights sitting around an outdoor fire. Yes, it’s time to think about fire pits and what better time to get ready as the days turn cooler and Bunnings begins to stock fire pits for the season.


DESIGN IDEAS

If you have read my previous blog, you will know we are in the process of designing and building a new place and I am wanting to include a fire pit – so I have been surfing Pinterest and have found some of the most amazing ideas. Fire pits that aren’t just fire pits but grills and ice buckets! Quick tip: I did turn our current fire pit into an ice bucket for my son, Harry’s 18th. Just line it with a large garbage bag, fill it with ice and presto a great place for beers and refreshing drinks and also an area to sit and chat.

This fire pit below by Mororo is just beautiful, if I have the area and the budget I would get one! Check them out at mororo.be/en/collection/rocco

Fire pit Mororo.jpg

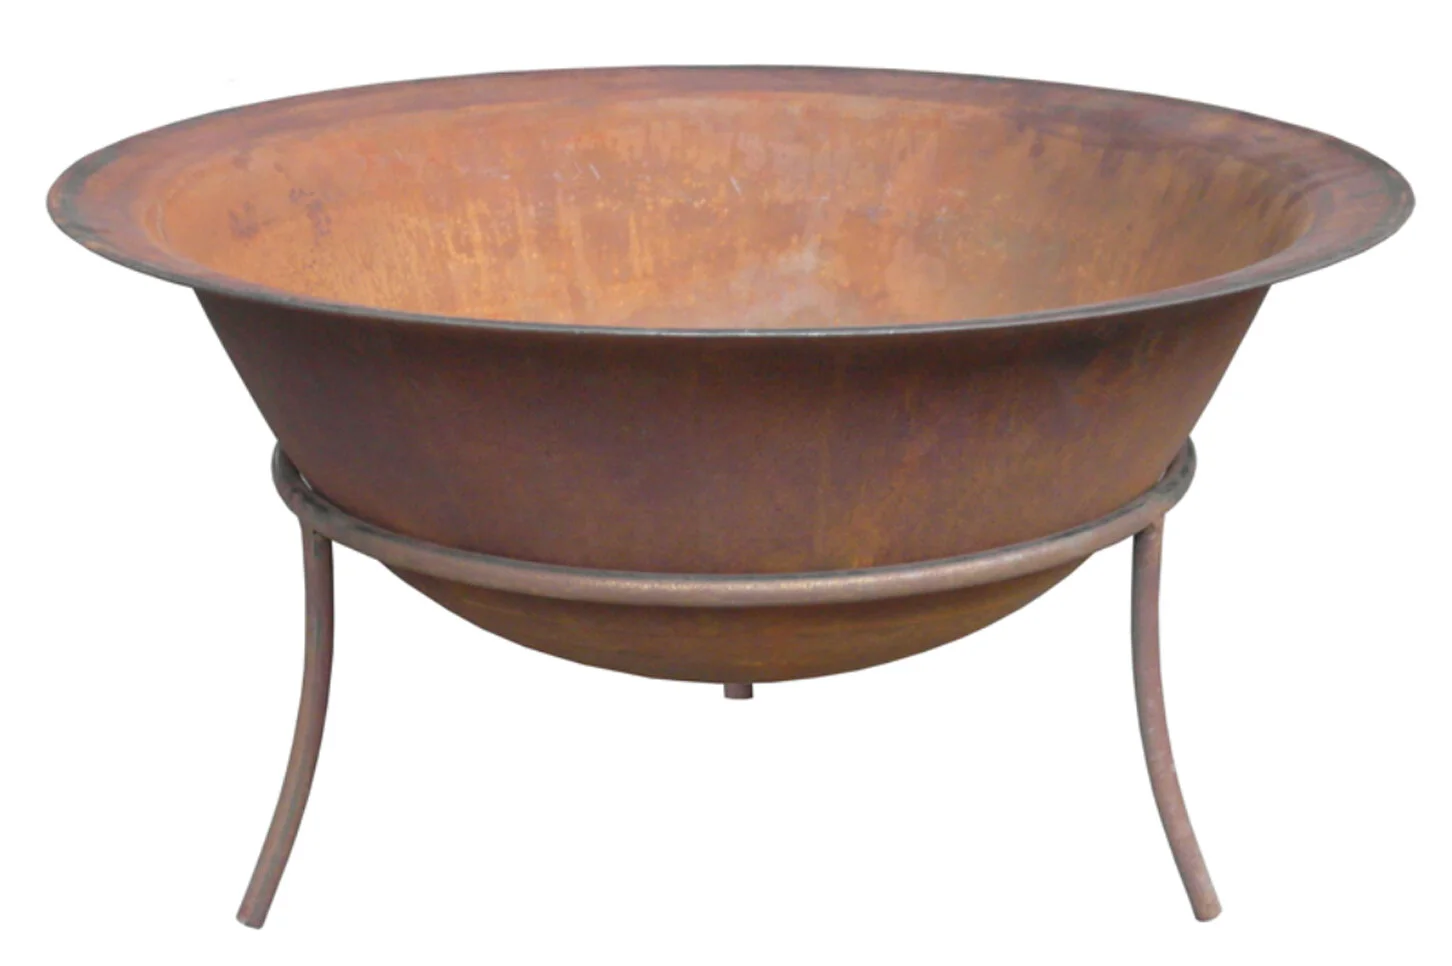
But there is no need to go this far as you could put in a simple paved or crushed stone area and add a fire pit like the Jumbuck Rustic Iron Fire Bowl with stand from Bunnings pictured below. Bunnings have a huge range of fire pits to suit a range of styles and areas. https://www.bunnings.com.au/search/products?page=1&pageSize=60&q=FIre%20pits&sort=BoostOrder

Fire pit Jumbuck.jpg

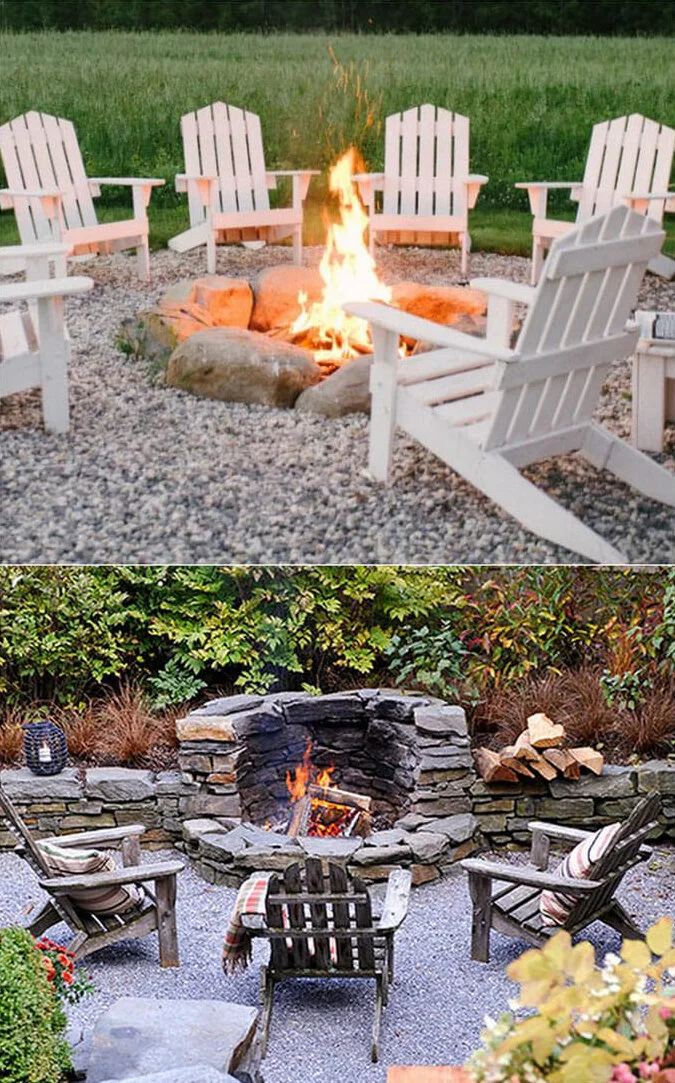
Make sure you think about seating, you could make it a bigger project and integrate seating like in the first image of this blog, or this fire pit and seating design I found on ‘Posh Pennies’.

https://poshpennies.com/11-budget-ways-to-update-your-patio-this-summer/

Seating fire pitt.jpg

Another idea is to keep seating moveable so you can position yourself out of the way of any smoke. These images taken from ‘A Piece of Rainbow’.  See the link below for many more ideas:

https://www.apieceofrainbow.com/best-fire-pit-ideas/?outdoorkitchenplanning=1624959507

fire-pit-ideas-kits-wood-burning-fire-pit-table-diy-firepits-how-to-build-fire-bowl-apieceofrainbowblog-2_CROP.jpg

So, now is the time to plan and execute a fire pit project! Before you know it you’ll be on your way to that girl guide badge, toasting marshmallows on a stick, and enjoying time around an open fire with family & friends.


3 THINGS I’VE LOVED RECENTLY

Handles_Ribe.jpg

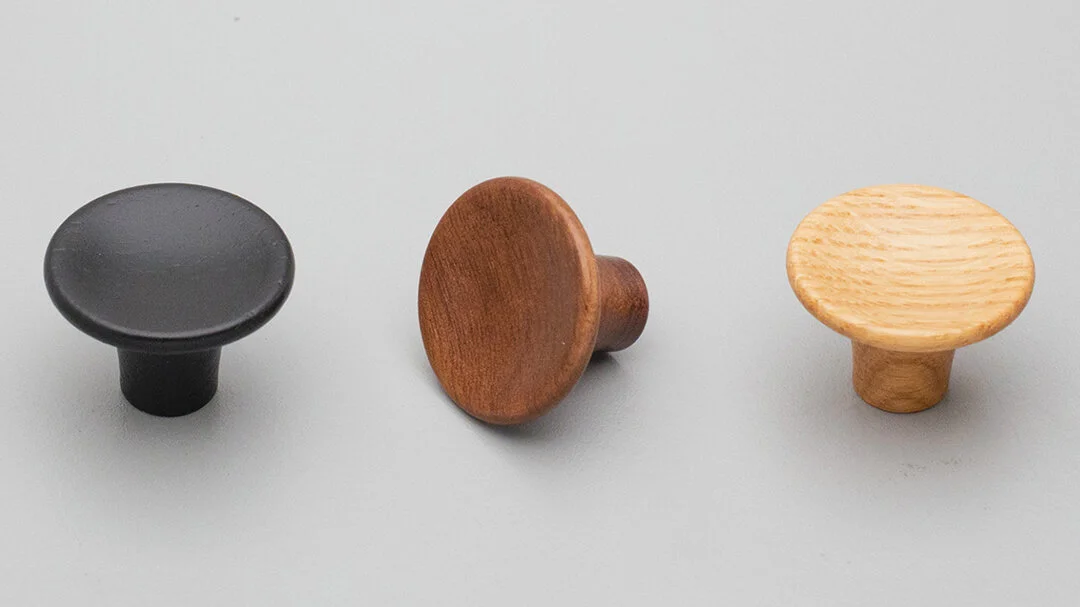
I am loving the new wooden handle range from Kethy. I was on the lookout for black handles and came across these beauties. The Ribe handle by Kethy.

Handles_Bowl.jpg

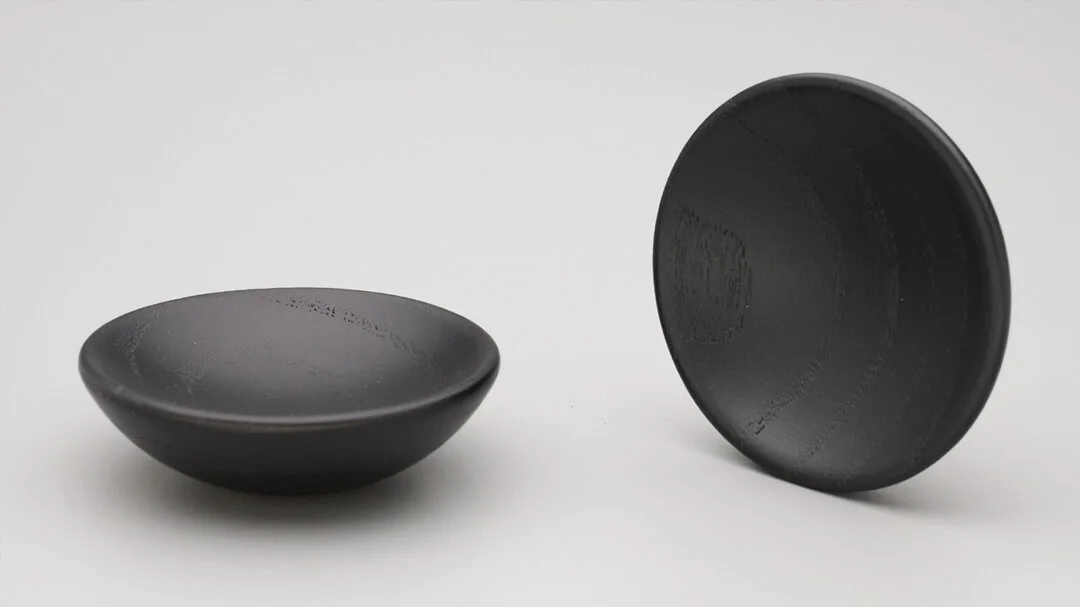
This one is gorgeous too, the Kethy Bowl Knob. Got to try to get them into a design.

Pearl Rug.jpg

I’m also on the lookout for a rug for a client and I came across this divine texture Pearle Blue Willow Rug from Tribe Home in Melbourne. I can just feel this under my feet just by looking at it. Click the link for more information. 

It definitely must be getting a bit cooler as I’m thinking snuggly texture!


PROJECT UPDATE

A sneak peak at a project that I’m working on in Pymble, it’s a new build and we are at the very exciting stage of tiling being finalised, cabinetry going in and now selecting window furnishing for the place.  

You can see from these images we are keeping a warm, sandy palette with crisp white and black going through the home. Knowing your colour concept upfront keeps everything harmonious.

Project_Beige.jpg

That’s it for this month. With the cold creeping closer its time to move your thoughts to preparing for those chilly times.  

Take care
Jules xx

Step into an organised and inspired 2021

School bag HR.jpg

I hope you have had a lovely Christmas and Summer holiday break, I certainly did! We managed to get away during the very wet time to the Central Coast and were also very lucky to pick up a cancellation in Byron Bay last week where we lapped up some sun. 

I also managed to clean out a few cupboards and my wardrobe so I feel a little more organised stepping into the new year. So, let’s kick off 2021 with some organisational tips for yourself and getting the kids back to school.


DESIGN IDEAS

Is it just my house or does this happen in all homes?

It’s Monday morning and I’m about to walk out the door for school drop off and I ask number two son if he has his PE gear or his trumpet for music in the afternoon and there is a panic as he runs back to his room to get his gear. Why is it that I can remember his timetable but he can’t? Well, here is the answer to making sure this scene doesn’t play out in your home.

Turra Ave Mud Room_RETOUCH.jpg

A simple blackboard where you can put up the timetable so he can check it the night before and just as he picks up his bag to leave each day. Chalk boards are simple to make! I framed up an area on the wall in our mud room (there is one on either side of the seat) with beading and painted the internal space with chalk board paint and the frame with the same colour paint as the walls. Each year we put the kids’ timetables up so they know what they need to pack for their extra-curricular activities.

I am so pleased that I put a mud room in our home, it’s a room that I try to squeeze into a lot of my designs as it provides a place for you to put all those bags, shoes and sporting gear that end up at your from door or dropped in the kitchen when everyone walks in the door.


TIPS FOR CREATING A GREAT MUD ROOM… 

Staciwa mud room cabinetry design.jpg

1. Make sure there that each person has two hooks available, one for bags and one for coats.

2. I always have an area for shoes under the bags. I like to have a drawer for these with a breathable gauze front or lower front or keep it open so the shoes can breathe. 

3. Shelves above at a height that you can comfortably sit under. I was lucky enough to be able to put a seat on the opposite side of this room so you can sit and put shoes on but as you can see in the designs below that I have done I incorporate seats into the locker areas so you can sit and put your shoes on. 

Staciwa mudroom_RETOUCH.jpg

4. Storage, storage, storage. You can never have too much storage. Incorporate adjustable shelves and then you can get even the biggest piece of sports equipment away between seasons.

5. Mud rooms can come is all shapes and sizes, even just an area for hooks to hang bags and basket for shoes under these hooks. That way the front door can stay clear of the shoe clutter.

I hope this gives you some food for thought! For now, let’s get into 2021 and look out for my next post soon where I have to some tips and tricks to creating homes with classic charm and relaxed appeal.

Take care
Jules xx